Payment App Tutorial
Introduction
During a conversation is sometimes useful providing the user with a method to complete a task through a payment.
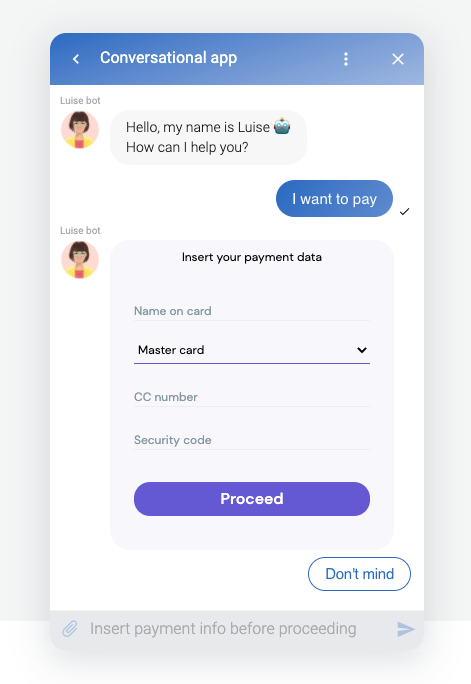
Using an app is a secure way to accomplish this task. Using the app the end-user doesn't send any "sensible" payment information as a message in the conversation. He directly interacts with the payment system on the HTTPS protocol, leaving out from Tiledesk informations that Tiledesk absolutely doesn't want :)
In this tutorial we'll only build a skeleton application, useful enough to show the basic principles of building a widget app with Tiledesk.
We'll cover three basic needs.
Create and render an app to be shown and used in the conversation
Mark the app as "Terminated" changing his UI behaviour on the task end, avoiding further user interaction
Interact with the current conversation, i.e. sending a message, directly from the app code
Let's start.
Create and render an app
Create a new Project
To use Tiledesk APIs or integrate your own chatbots is mandatory to signup a new user on Tiledesk. Then go to the console, available on the following link https://panel.tiledesk.com/v3/dashboard
After signup please follow the proposed wizard to create your first Tiledesk project
We choosed "Widget Embedded App" as Project name:
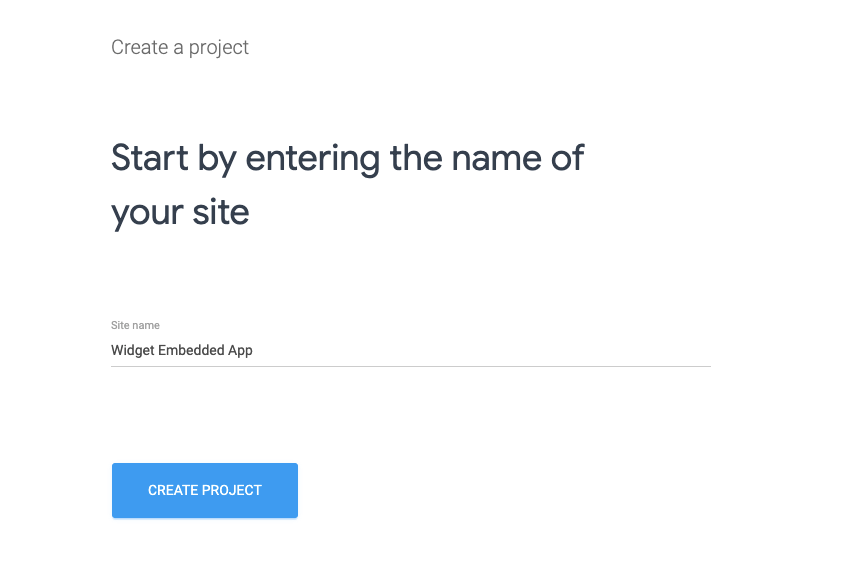
As soon as you create the project you will be redirected to the project home (for this tutorial you can jump the last step, relative to the widget installation).
Create a simple chatbot
As first step we will create a simple chatbot. We'll use the chatbot so it can send back a conversation-embedded Application to the end-user who started the chat, asking him to pay for his order using his credit card info. The Application will implement the (fake) payment-logic and will reply to the user with a message showing the payment operation relevant info.
Select the chatbot icon on the left menu, then press the "ADD BOT" button:
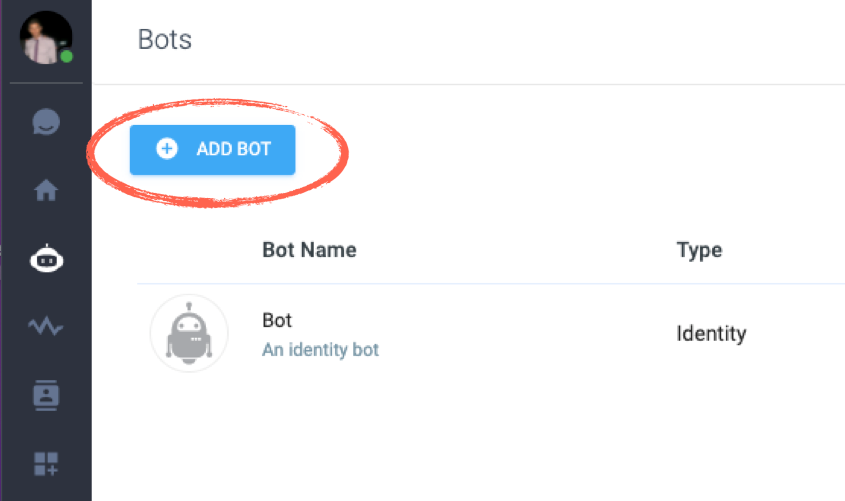
Choose "Resolution bot" as type:

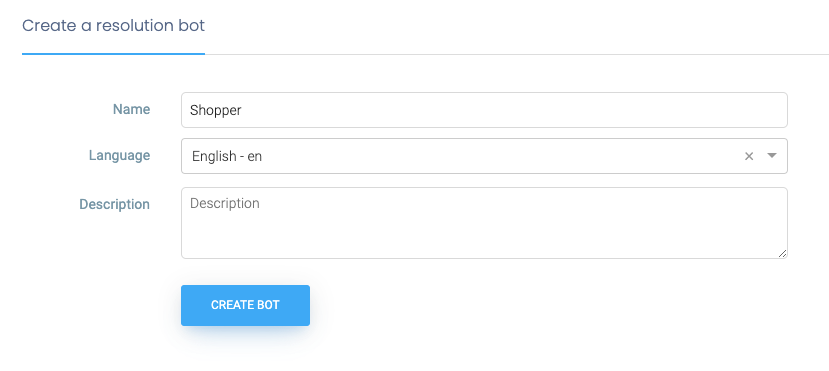
Set "Shopper" (or whatever you prefer) as the chatbot name and leave the other settings with their default value. Press "CREATE BOT":
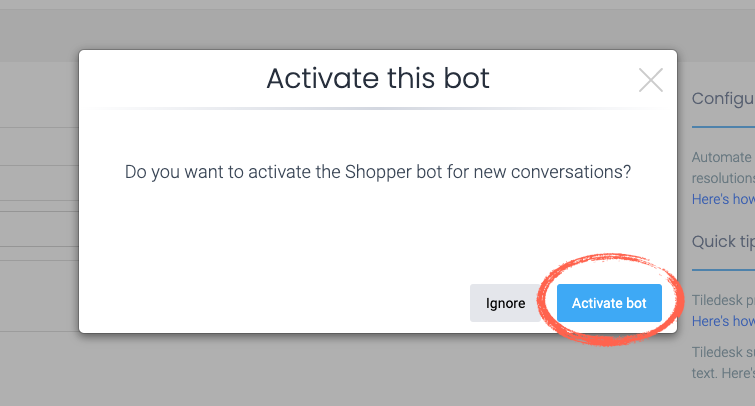
When asked, choose "Activate bot". In this manner the new chatbot is immediatly available as soon as someone starts a new conversation.
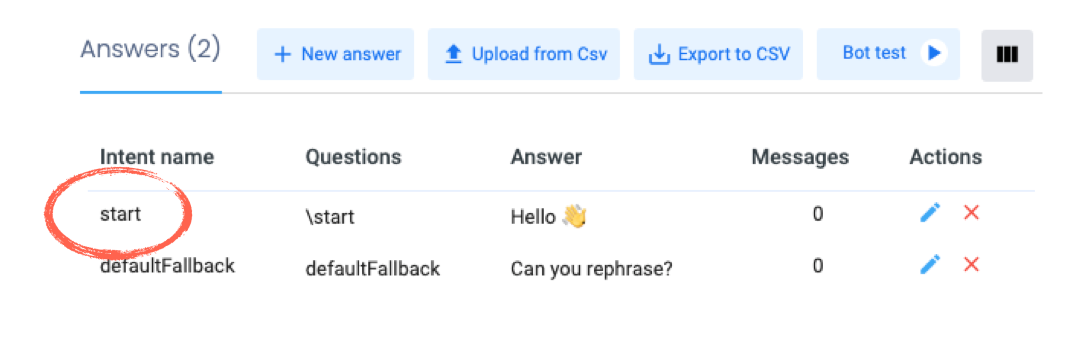
Now, in the Shopper chatbot intents list, select the "start" intent:
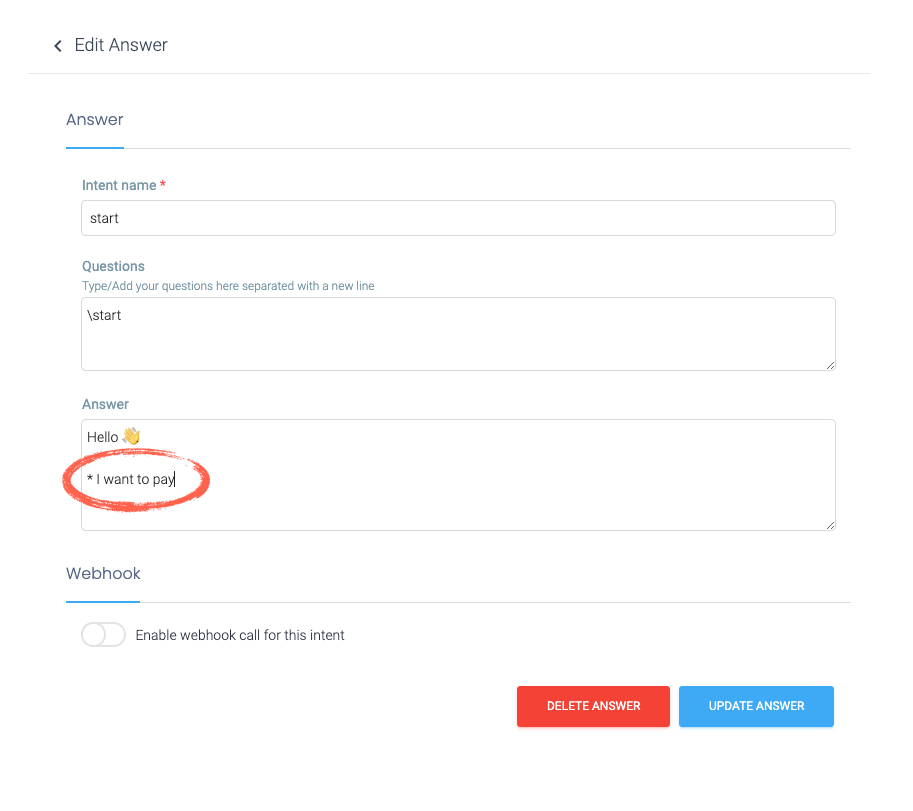
Then modify the start intent, adding a Quick reply button using the chatbot microlanguage (simply use an asterisk followed by a space and the quick reply text), as this:
Now save the answer and go back to the intents list. Add a new answer (+ New answer button).
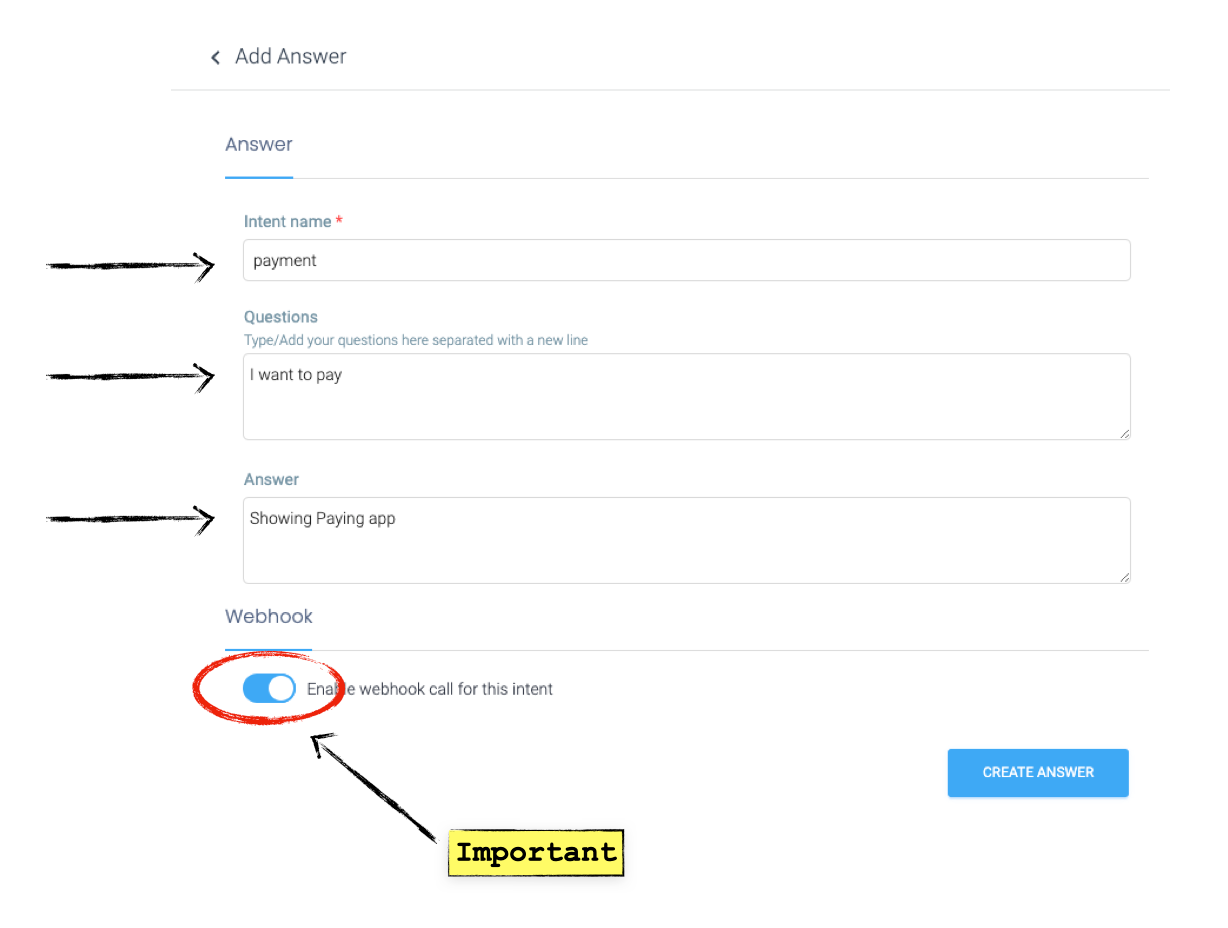
Configure the new answer as the following:
Intent: "payment" Questions: "I want to pay" Answer: "Showing Paying app (placeholder)..."
Do not forget to activate the webhook switch on the bottom "Enable webhook call for this intent". This will forward the webhook reply to the backend logic that we'll add later in the tutorial.
Create the backend on Replit
To develop our app logic, we'll need a web application endpoint where all the chatbot's requests will be forwarded. We'll use the Repl.it service to fast create our own NodeJS web application endpoint.
Develop your application logic. Let's fork!
We simply fork the tutorial application, available at this url:
https://replit.com/@tiledesk/tiledesk-conversational-app#index.js
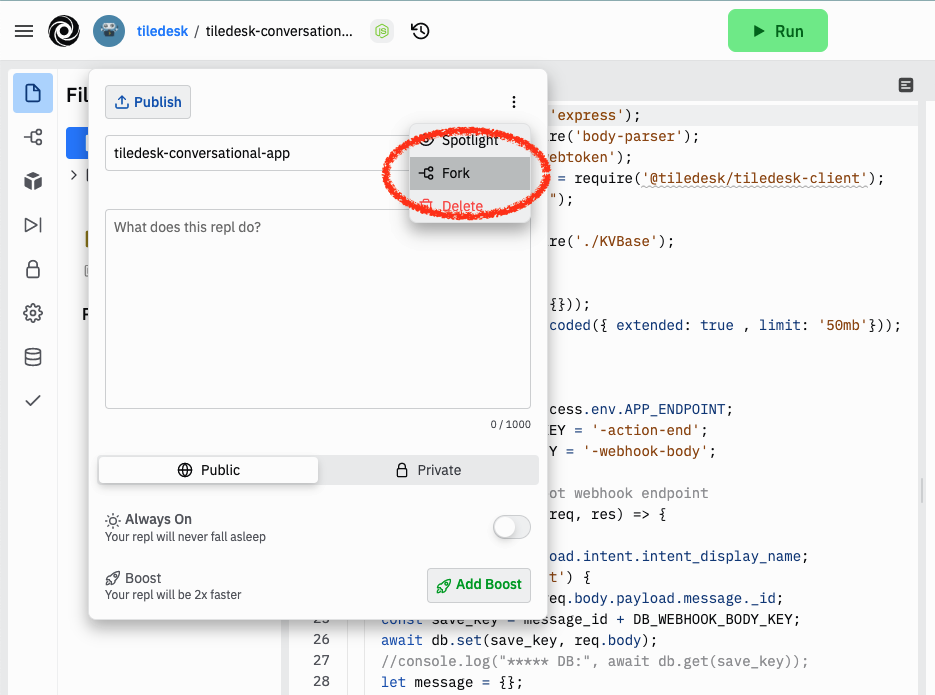
Use the fork button and choose a name for your app:
Once forked go on your replit application and do a little customization. You should set the APP_ENDPOINT environment var using the option on the left menù, as shown in the figure. You must add to the replit App endpoint - in our case https://tiledesk-conversational-app.tiledesk.repl.co - the /apps/creditcard suffix to build the full APP_ENDPOINT functional to our integration, exactly as shown in the picture.
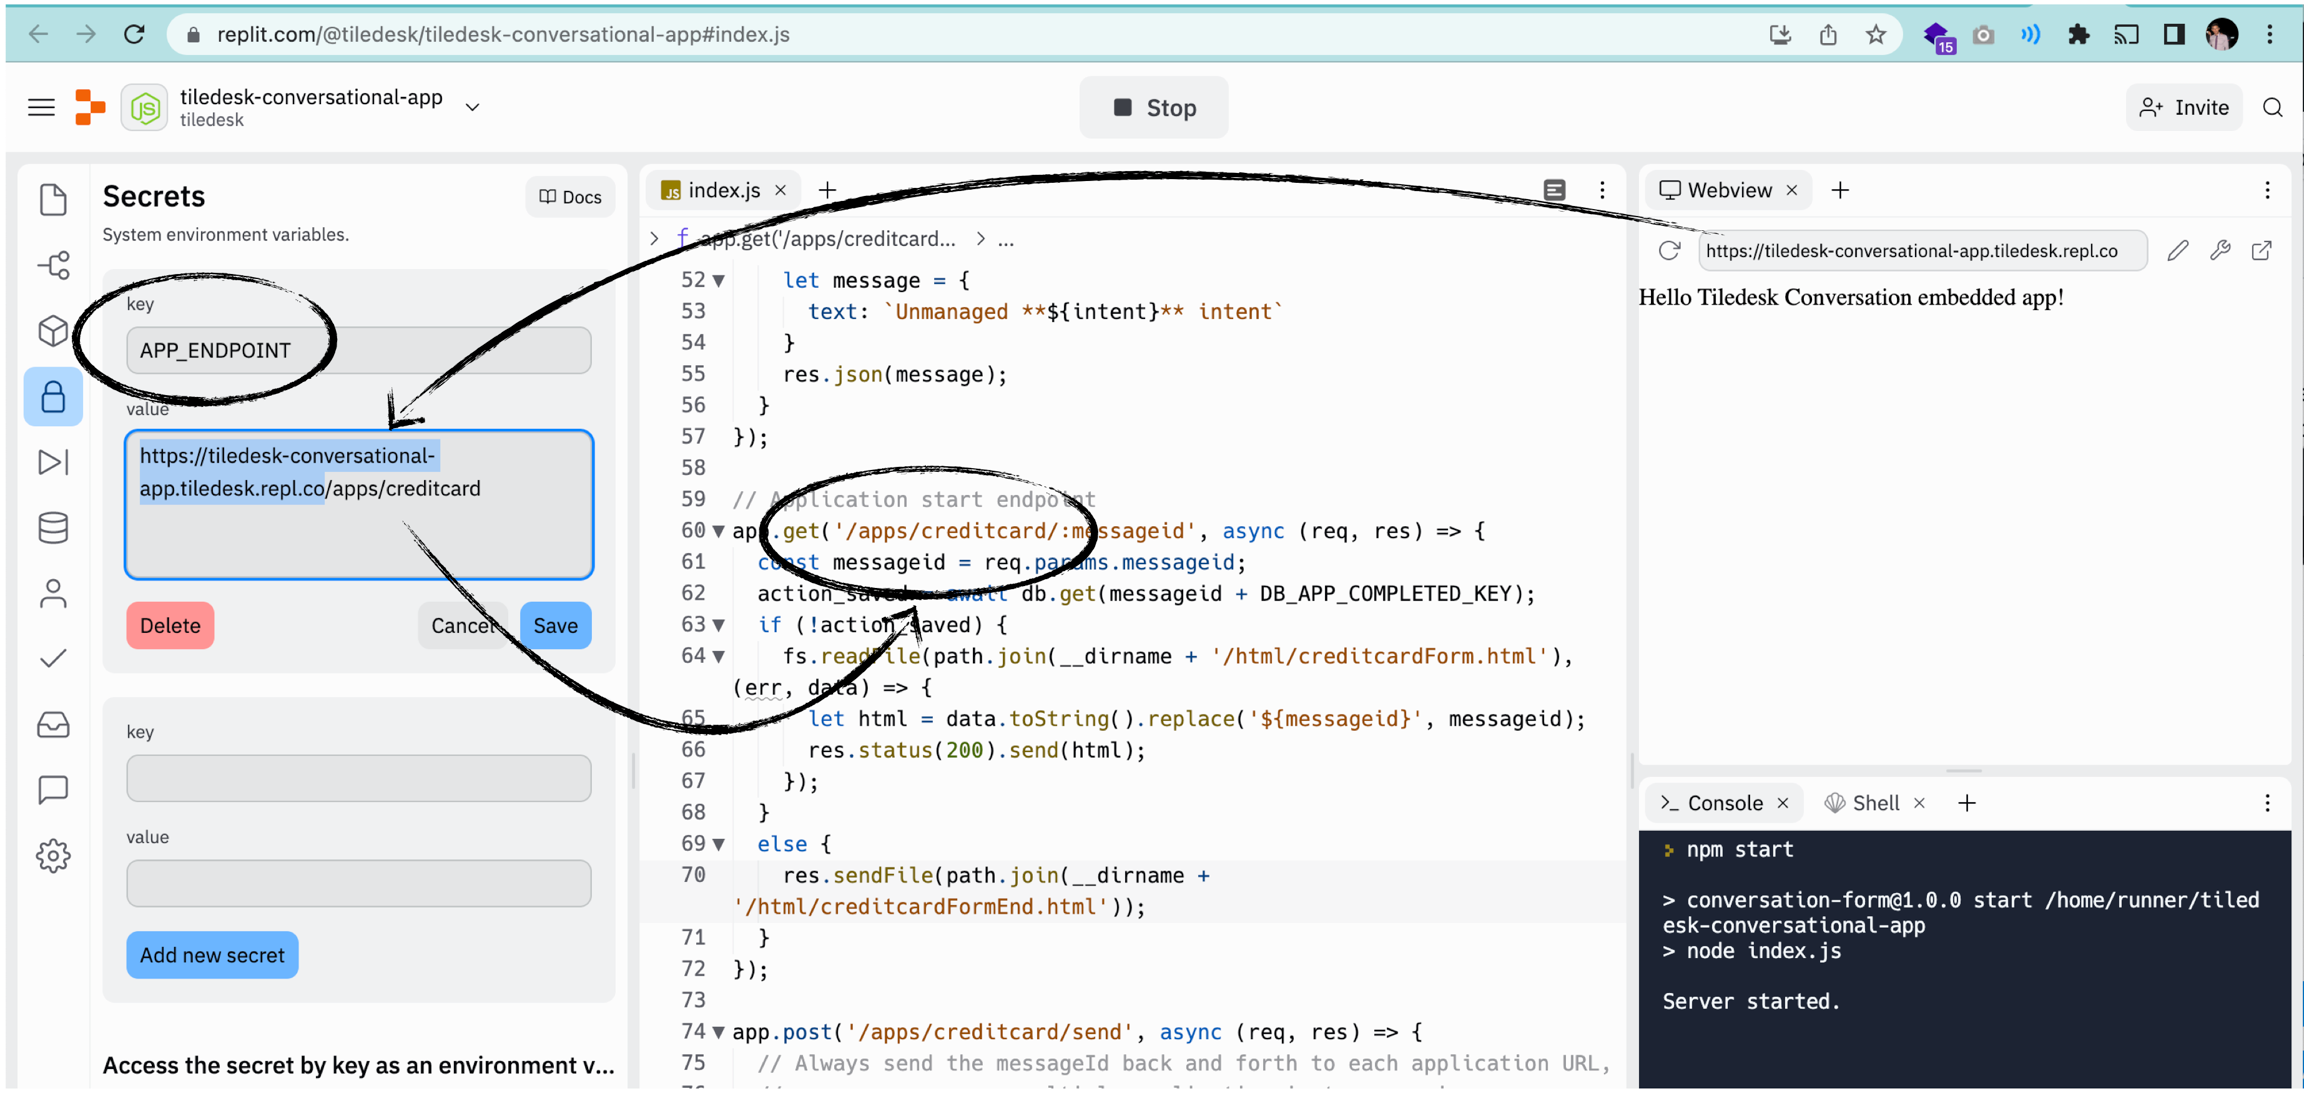
Now press the Run button in the top bar. You application starts, as you can see in the log panel.
Now you must connect this application to your Shopper chatbot. Go on the Shopper bot in Tiledesk Console, enable Fullfilment and put there the API_ENDPOINT url of your chatbot using the previuos Replit App endpoint followed by the /bot suffix:
https://tiledesk-conversational-app.tiledesk.repl.co/bot
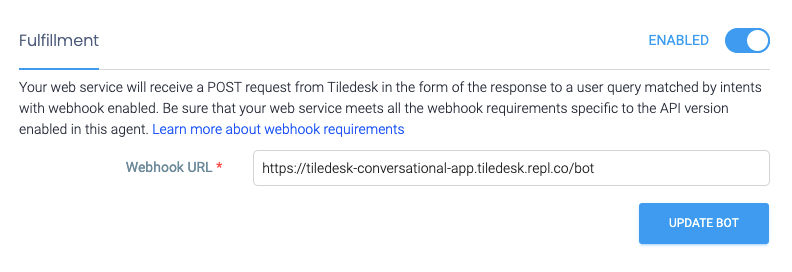
And press the UPDATE BOT button. Now we are ready to see the embedded App in action with our chatbot.
Let's run
To run the example simply choose the "Simulate visitor" button on top of the console of your project.
The widget "test page" will open. These are the main steps involved in the interaction:
Start a conversation.
The chatbot will greet you.
Press the "I want to pay" Quick reply button. It will decode the "payment" intent you already built.
The intent is connected to the API_ENDPOINT you setup previously and the reply is dynamically generated by the /bot method
The reply sends back to the widget a message containing a "frame" with the API url of the application
The user interacts with the application, setting his name
The App gets the user data and disables further user interaction
The App sends a message back to the user containing his name (got from the app form)
The interaction ends.
You can try a "live" tutorial here. You can get the source code directly from the replit app.
If you have any problems do not esitate to write us on our Community forum!
See you on our next tutorial!
Do you have suggestions on this article? Please send us your feedback writing an email to [email protected]
Last updated