Tiledesk Developer Hub
WebsiteCommunityTutorialsGet started
  • Introduction
  • Community
  • Ask for Support
  • Public Roadmap and Changelog
  • Tutorials
  • Widget
    • Widget SDK
    • Javascript API: Methods
    • Javascript API: Attributes
    • Javascript API: Listeners/Events
    • Widget Authentication
    • Widget Angular integration
    • Widget React integration
    • Widget for Android with WebView
    • Widget for iOS with WKWebView
    • Widget for Flutter with WebView
    • Widget for React with WebView
    • Widget for Wix Website platform
    • Tutorials
      • Hide widget
      • Show/Hide widget programmatically
      • Force widget loading without user interaction
      • Mobile positioning
      • Custom size (width/height)
      • Installing widget on selected pages
    • Conversation Embedded Apps
      • Payment App Tutorial
      • Prechat form App Tutorial
    • Advanced
      • Preset the Widget on a specific Department
      • Authentication Flow
      • Widget protocol specs
      • Prechat Form JSON specs
      • Prevent multiple conversations
      • Old versions
        • Web SDK v4
  • External Chatbot
    • Introduction
    • Hello World tutorial
    • Chatbot to Human handoff
    • Send Text Buttons
    • Advanced Tutorials
      • Introduction
      • Tutorial 1 - Dialogflow as external chatbot
      • Tutorial 2 - Buttons and images
      • Tutorial 3 - Automatic human handoff with fallback intent
      • Tutorial 4 - Explicit Human handoff with user intent
      • Tutorial 5 - Gracefully handling operating hours during handoff
      • Generate Dialogflow Google Credentials file
    • Rasa tutorials
      • Rasa Tutorial 1 - Rasa as external chatbot
  • Resolution bot
    • Introduction
    • Quickstart
    • Webhook service
    • Rich messages
    • Tutorials
      • Chatbot chooser (multilanguage)
      • Department chooser
      • Order info (webhook)
  • APIs
    • REST APIs
      • Introduction
      • Authentication
      • Requests
      • Leads
      • Messages
      • Activities
      • Projects
      • Team
      • User
      • Analytics
      • Canned responses
      • Tags
      • Events
      • Jwt
      • Labels
      • Images
      • Files
      • Segments
      • Chatbots
      • Knowledge Bases
        • Knowledge Base
        • Contents
        • Question & Answer
      • Management Api
        • Departments
        • Groups
    • NodeJS SDK
    • Webhooks
      • Subscriptions
    • Conversation Messages APIs tips
    • Realtime API
    • JWT Authentication
      • JWT Custom authentication Tutorial
    • Tutorials
      • REST API
        • Sending and receiving messages with Tiledesk APIs
        • PHP Tiledesk REST API example
        • Import multiple messages into Tiledesk using REST APIs from third party app
      • Webhooks
        • Custom Request assignment
        • Request transcript on close
  • Apps
    • Build Custom App - Quick start
    • External Channels integration flow diagram
    • Telegram integration tutorial
  • Dashboard & AgentChat SDK
    • Dashboard SDK
    • Agent Chat SDK
  • Architecture
    • Architecture overview
    • Components list
    • Bot Design diagram
    • Multi Channel Message Flow
  • Installation
    • Installation
    • Running Tiledesk using Docker Compose
    • Running Tiledesk with Kubernetes using Helm
    • Choosing Hardware
  • Configuration
    • Chat21 channel configuration
    • Email parameters and templates configuration
    • Configure the logging system
Powered by GitBook
On this page
  • Fork the tutorial code
  • Introduction
  • When using Tiledesk Microlanguage
  • Use the Microlanguage library
  • Train an agent with the micro language

Was this helpful?

  1. External Chatbot
  2. Advanced Tutorials

Tutorial 2 - Buttons and images

This tutorial shows how to embed buttons (or images) in your Dialogflow replies

PreviousTutorial 1 - Dialogflow as external chatbotNextTutorial 3 - Automatic human handoff with fallback intent

Last updated 1 year ago

Was this helpful?

NOTE: this tutorial uses Dialogflow just as an example for a programmatic external chatbot integration. If you instead need to easily embed your Dialogflow Agent in your conversations, please use the Tiledesk , the out-of-the-box Dialogflow integration that doesn't require programming skills.

Fork the tutorial code

We'll start from , just adding a small library to our original endpoint.

You must use the code in Tutorial 1. The code is available on Github .

Fork the tutorial code using the Fork button. Now you have a copy of the tutorial on your own repo.

Introduction

Tiledesk widget (web and mobile) supports many special messages that go beyond simple text. A chatbot can reply for example with images, videos or a message with button replies. We designed exactly for this kind of task. Microlanguage is a DSL made of simple “tags” that make it simple to use feature-rich messages in your chatbot. You can use Microlanguage with Tiledesk Dialogflow Resolution bot and the External chatbots that you connect to Tiledesk itself like the one in this tutorial.

When using Tiledesk Microlanguage

You can generally use Microlanguage to increase the end-user experience, i.e. proposing to your customers to reply using a button, sending them images or videos or to handoff the conversation to human agents.

Use the Microlanguage library

This time we'll give a try to the second end-point already embedded into the nodeJS app:

// Tutorial 2 - Use 'micro language' to easily render buttons or images
app.post("/microlang-bot/:botid", (req, res) => {
  ...
})

As you can see on top of the tutorial code, to use microlanguage you must require:

const { TiledeskChatbotUtil } = require('@tiledesk/tiledesk-chatbot-util')

Train an agent with the micro language

First we need to create a Dialogflow agent. Then we can just focus on the defaultWelcomeIntent to show how buttons and images work. This same logic will also apply to every other intent in the Dialogflow agent.

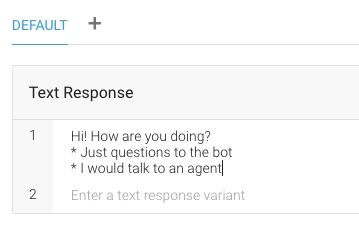
Choose the defaultWelcomeIntent and move to the 'responses' section. Remove all other responses, because we only want one welcome message from our Agent. Edit the response as the following with a copy & paste:

Hi! How are you doing?
* Just questions to the bot
* I would talk to an agent

It will look like in the following image:
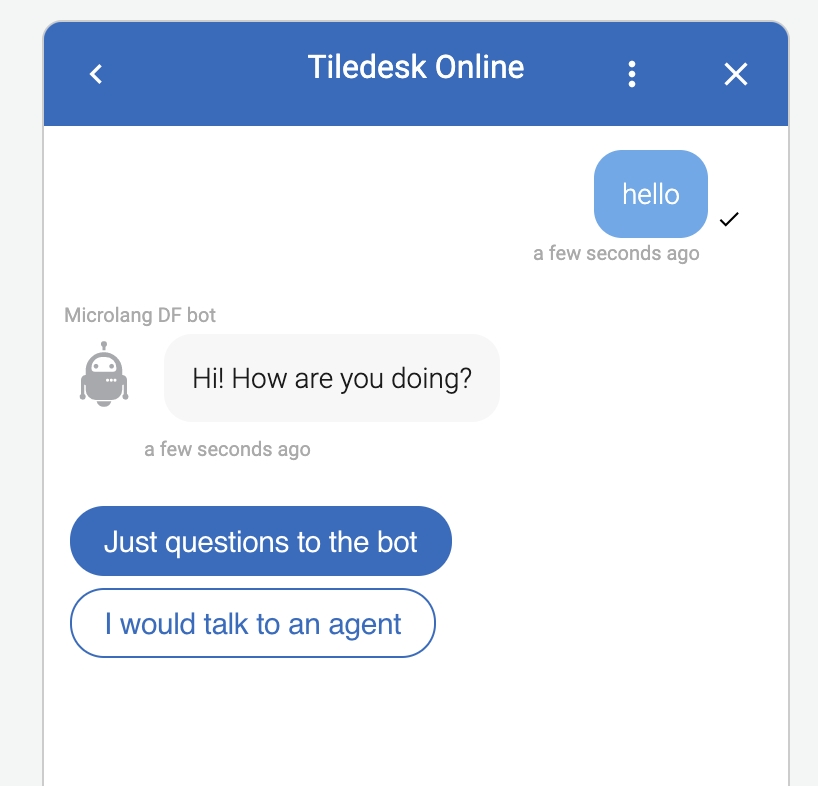
With micro language it's sufficient that you place a '*' followed by the button text on the end of the response. Every button must placed on a new line.

The final effect will be like this:
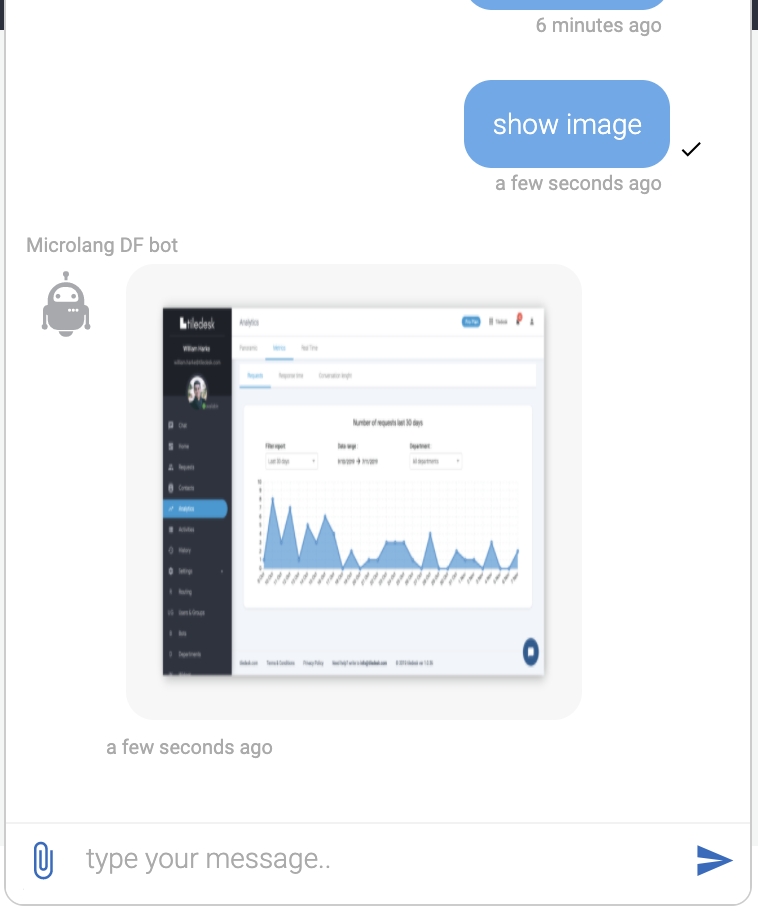
To send an image simply use the \image command in the response:

Your image
\image:https://www.tiledesk.com/wp-content/uploads/2019/11/backoffice-analytics-1.png

And the image will be shown in the widget like this:
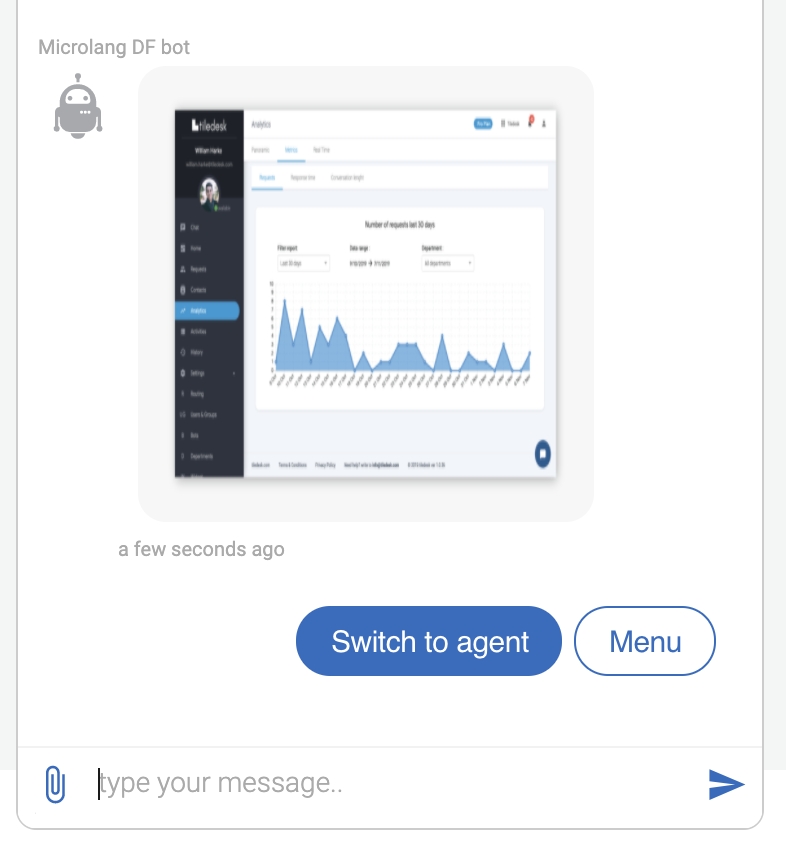
You can also use buttons and images togheter:

Your image
\image:https://www.tiledesk.com/wp-content/uploads/2019/11/backoffice-analytics-1.png
* Switch to agent
* Menu

And this is the final effect:

Enjoy Tiledesk!

Do you have feedback on this article? Please send us your feedback writing an email to info@tiledesk.com

As in you have to create a Dialogflow agent, train the same Agent following the instructions in this tutorial, then go to Tiledesk and create an external bot and connect it to Routing (or to a Department).

image
image
Dialogflow Connector
Dialogflow Tutorial 1 - Dialogflow as external chatbot
here
Microlanguage
Dialogflow Tutorial 1