Widget for Wix Website platform

This example shows how to integrate the Tiledesk Widget via a custom HTML code using Wix website platform

Prerequisites

Due to security update in wix, some elements in widget installation snippet code could be blocked. But, no warries. We already found a smart solution with some additional work.

What you have to do, before adding custom code to your website with wix, is to create an html page that can host the Tiledesk Widget installation snippet code like the one below:

<!DOCTYPE html>
<html>
<head>
    <meta charset="UTF-8">
    <meta name="viewport" content="width=device-width, initial-scale=1.0, user-scalable=no">

    <script type="application/javascript">
      window.tiledeskSettings=
      {
          projectid: "<CHANGE_IT>",
          fullscreenMode: true,
          open:true,
      };
      (function(d, s, id) {
        var w=window; var d=document; var i=function(){i.c(arguments);};
        i.q=[]; i.c=function(args){i.q.push(args);}; w.Tiledesk=i;
        var js, fjs=d.getElementsByTagName(s)[0];
        if (d.getElementById(id)) return;
        js=d.createElement(s);
        js.id=id; js.async=true; js.src="https://widget.tiledesk.com/v6/launch.js";
        fjs.parentNode.insertBefore(js, fjs);
      }(document,'script','tiledesk-jssdk'));

      window.addEventListener('load', (event)=> {
        document.dispatchEvent(new Event('mousemove'))
      })

    </script>
</head>
</html>

Now take notes of this url (for this tutorial we'll named it as https://<my-server-hosting-page-url> ). We have to use it soon.

Installation

From your wix website panel, follow this steps:

  1. After completing the basic configuration of your site, navidate to "Settings." You can usually find this option in the top menu or sidebar.

  2. Scroll down and click on Custom code setting option in Developer and integrations section.

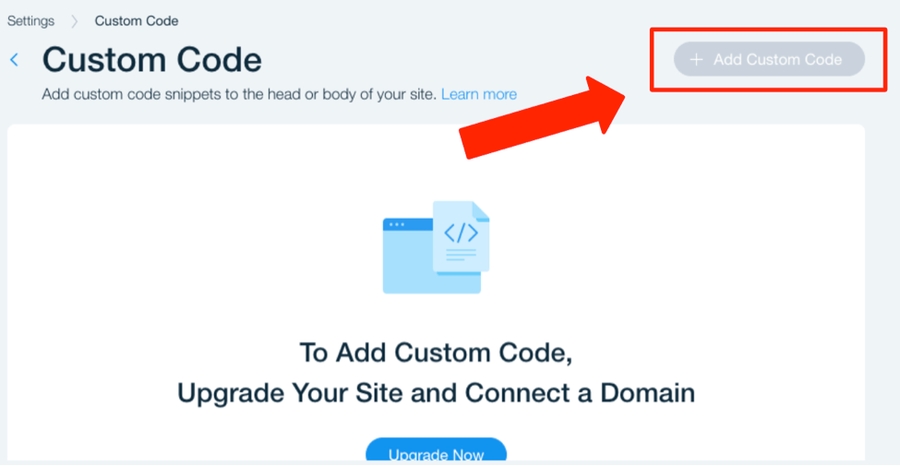
  3. Add your custom code by click on +Add custom code

  4. From the modal window that appears, place an iframe HTML element in the text box. The iframe src property has to link to a public https page hosted on your server. Code example could be:

<iframe src="https://<my-server-hosting-page-url>" width="100%" height="600" style="border:none;"></iframe>

Set a name, the pages where the code has to be active and set the embedded code to 'pin to screen' (to make it stick in the right bottom corner)

  1. Apply the changes and the Tiledesk live chat widget on your Wix website should works fine.

That's it! Your Wix website is now equipped with the Tiledesk live chat widget, allowing you to engage with visitors in real-time and provide excellent customer support.

Many thanks to Frank Huisman from Duo Criativo agency for the collaboration on writing this tutorial

Last updated

Was this helpful?