Quickstart
Last updated
Was this helpful?
Last updated
Was this helpful?
This Quick start guide will involve the following steps:
Create a new Tiledesk Project.
Create a new Tiledesk Chatbot and connect it to the Widget.
Connect the "start" intent to your service, replying with a dynamic answer.
To use Tiledesk APIs or integrate your own chatbots is mandatory to signup a new user on . Then go to the console, available on the following link
After signup please follow the proposed wizard to create your first Tiledesk project (for this tutorial you can jump the last step, relative to the widget installation).
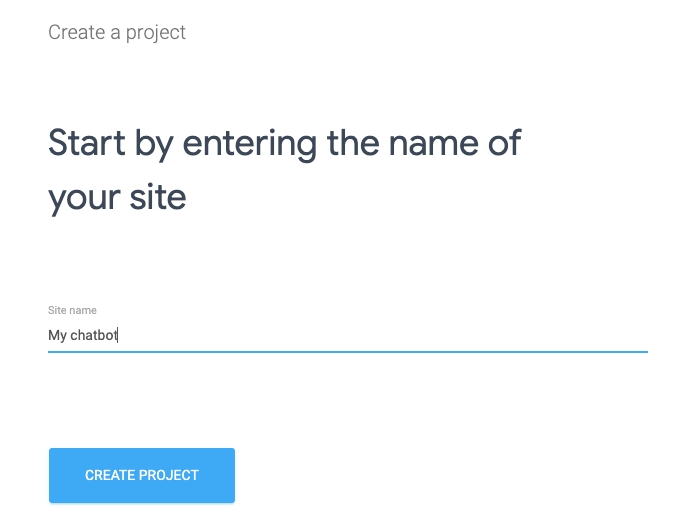
To work with a chatbot you must have a Tiledesk project. Create a new one, name it "My chatbot":
Jump all the default options you find in the creation wizard clicking the Continue button.
There is no need to install the widget on your website, so you can jump the last "Install widget" step as well.
As soon as you create the project you will be redirected to the project home, the "dashboard".
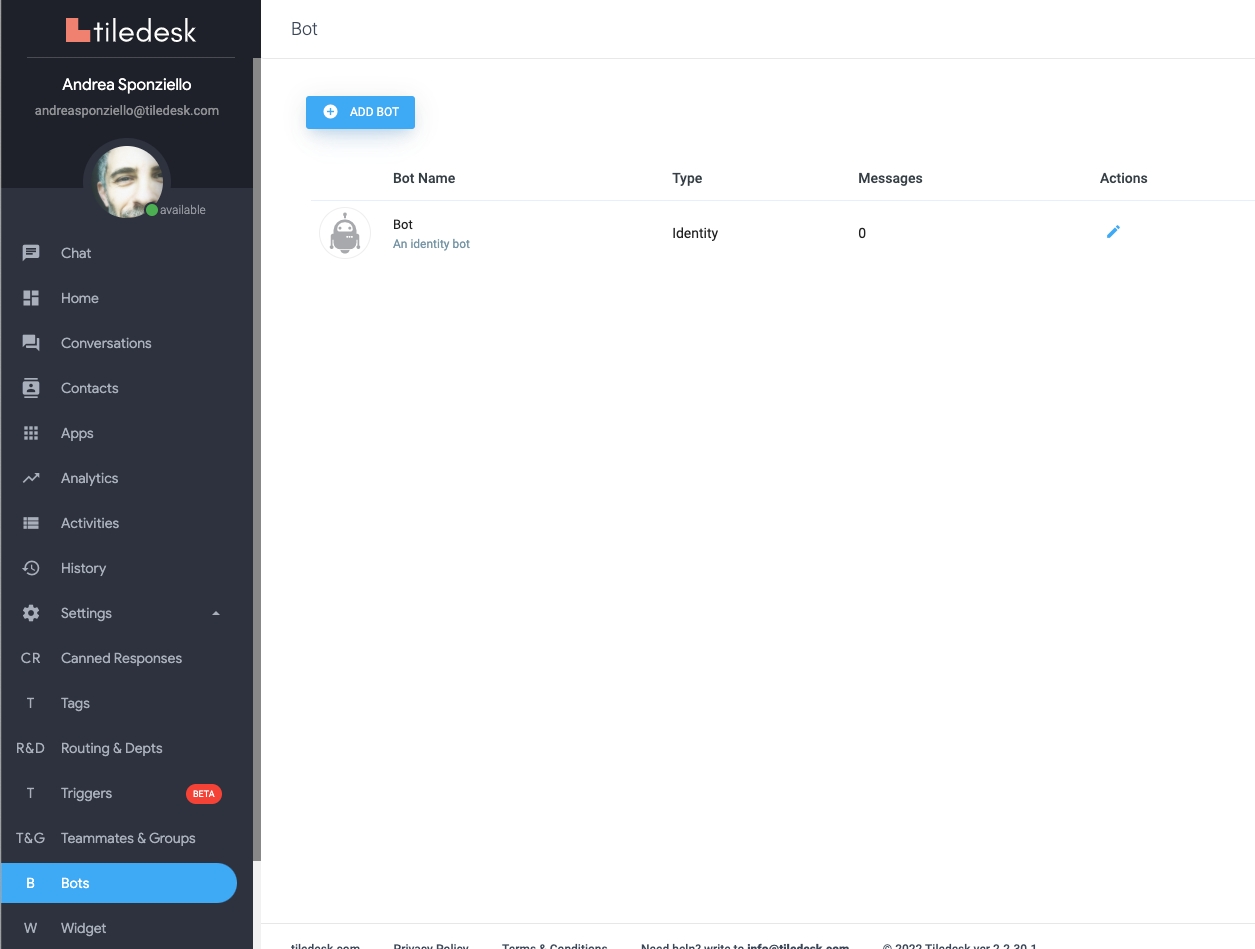
From the dashboard, open the Settings menu on the left and select the "Bots" option:
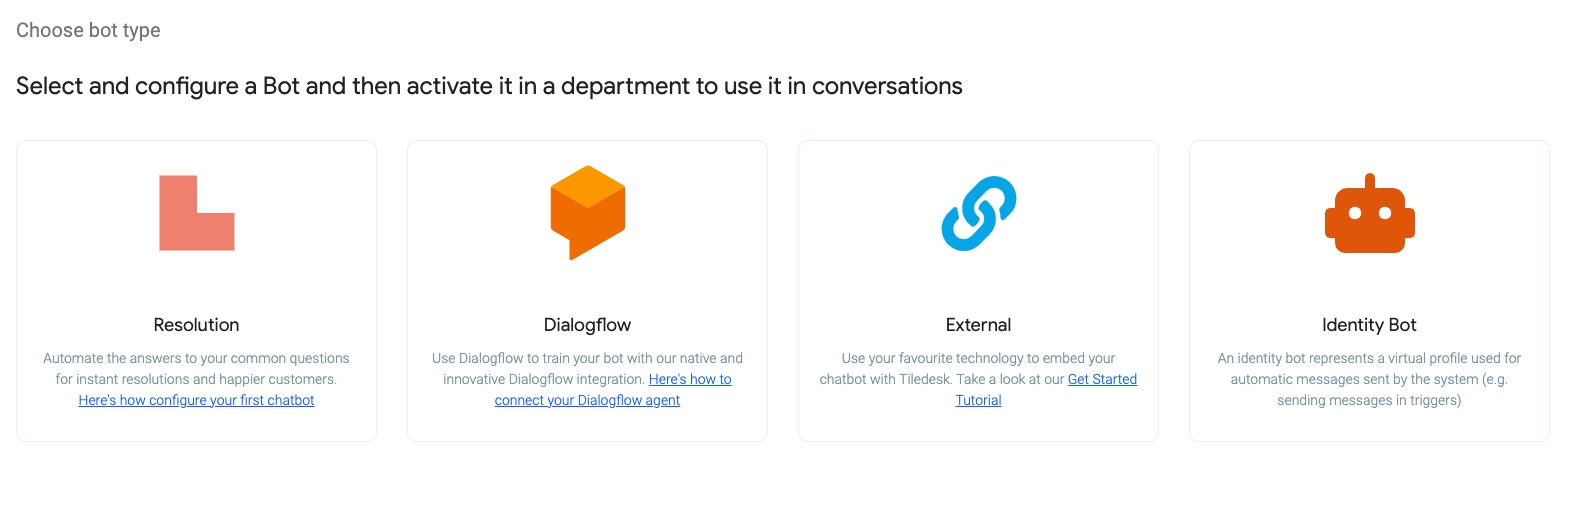
Press the "Add bot" button on the top, then choose the first option, "Resolution bot":
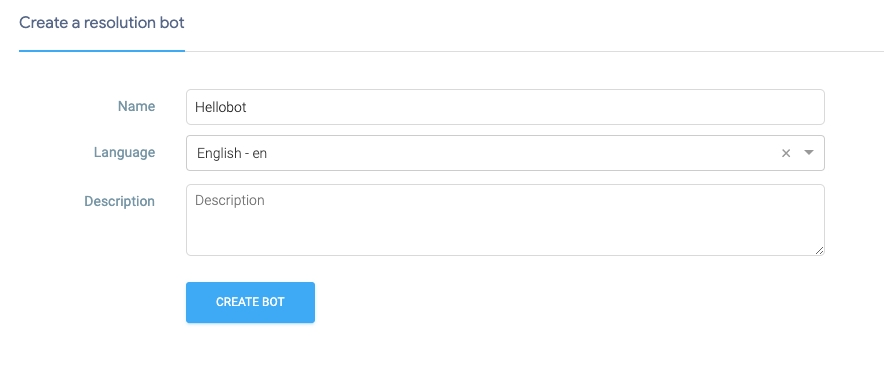
Choose a name for your bot (i.e. "Hellobot"), then "en" as the language, and press the CREATE BOT button.
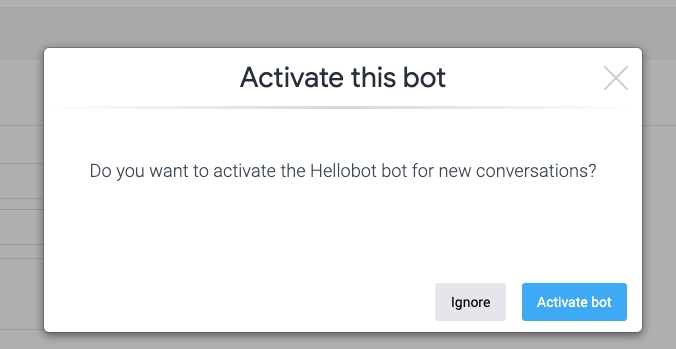
When asked, reply "Activate bot" to this popup. This option will attach the chatbot to new conversations.
You have a new chatbot now, ready for coding.
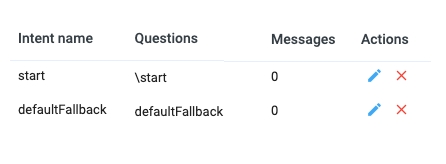
You will see a couple of intents, the start and the defaultFallback intents.
This tutorial will show how to programmatically reply to intent with your own code, allowing you to reply to messages sent by end-users.
Hint We'll use Node.js for this example, due to his simplicity, low cost hosting and low learning curve. But keep in mind that the concepts in this tutorial can be easily applied to every web framework of your choice.
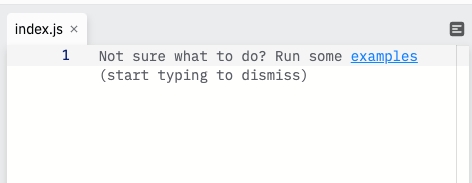
Press "+ Create Repl". Your initial source code will be generated and an empty index.js file is created, as the following:
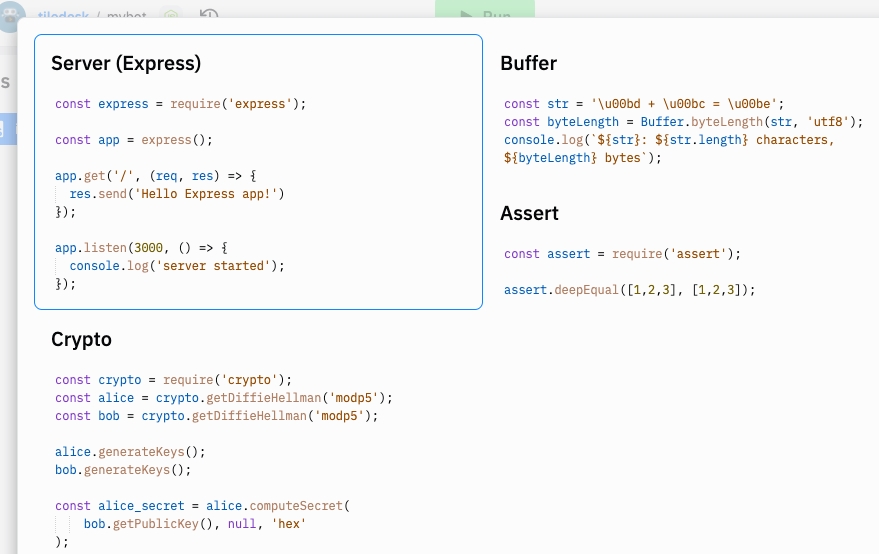
Now choose the "examples" link inside the source code, and select the "Server (Express)" option:
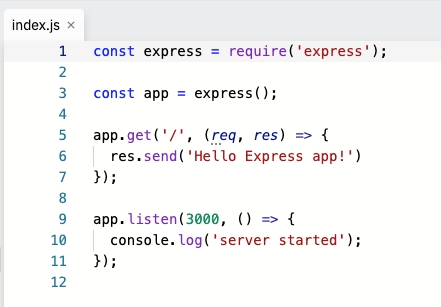
The index.js file is updated with the following source:
Now we can add a new HTTP method POST to our web application, lets call this /bot. The new source will look like this:
Press "Run" on top to start the application. Take a note of this api endpoint, in our case it is the following:
Now you can move back to the Tiledesk project console of your chabot and open the Settings menù on the left panel of the Tiledesk project, select the Bots option, then choose your previously created bot from the list:
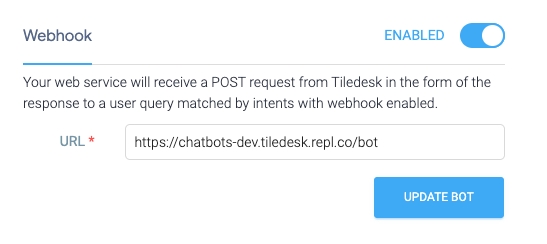
Select the fulfillment section and activate the webhook endpoint. In the URL field set the repl.it endpoint:
Now press "UPDATE BOT".
The url is general for all the chatbot intents, but you have to activate the endpoint for each specific intents you want to be dinamically served with remote fulfillment.
In this example we choose the "start" intent to be fulfilled by coding. The "start" intent is special because it is the first intent called by Tiledesk when a conversation starts with a chatbot involved.
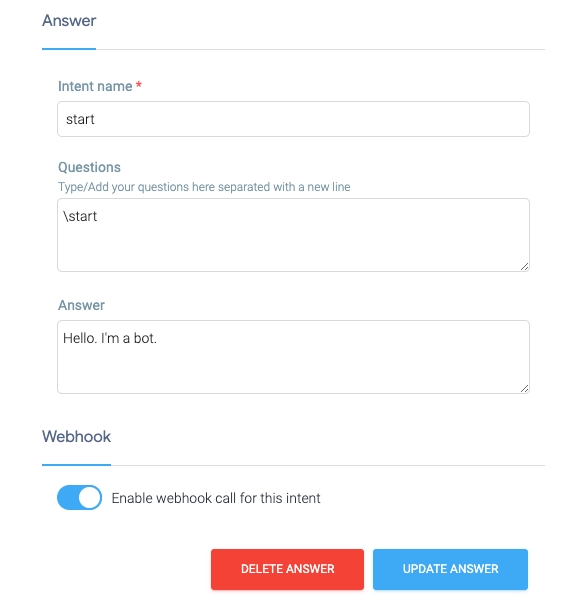
Let's choose the start intent from the intents list, then, from the intent view, activate the bottom switch "Enable webhook call for this intent", as in the following picture:
Now press the "UPDATE ANSWER" button. The intent is finally connected to our endpoint. It will reply to the end-user every time a conversation starts. Let's see this in action.
To test our bot press the "Simulate visitor" button from the console header.
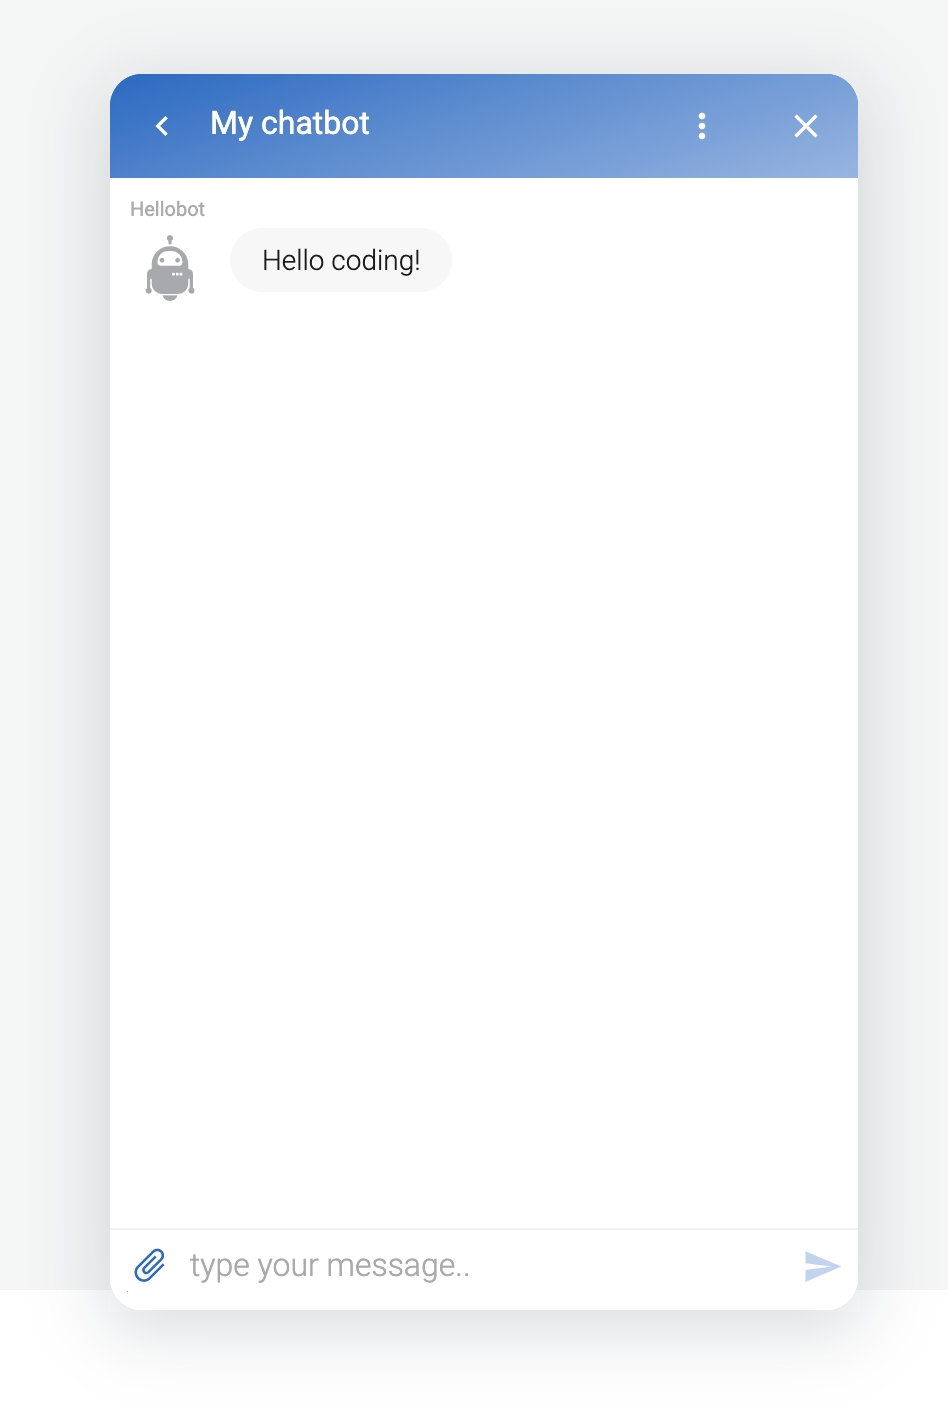
This will open a new page, where you can see the widget in action just like it was installed on your website. Open the widget and press the "Start new conversation" button. The "start" message is secretly 🤫 sent to the chatbot, the start intent is suddenly triggered and the endpoint will reply with your programmatic message!
Well done! This was just the initial example. In the next tutorial we'll discover how to selectively execute programmatic logic based in specific intents.
You can find the full code of this tutorial on the repl linked here:
Do you have feedback on this article? Please send us your feedback writing an email to info@tiledesk.com
To programmatically customize intent replies, we'll need a web endpoint where all the chatbot's requests will be forwarded to be fulfilled with you dynamic messages. We'll use the great service to fast create our own http REST endpoints.
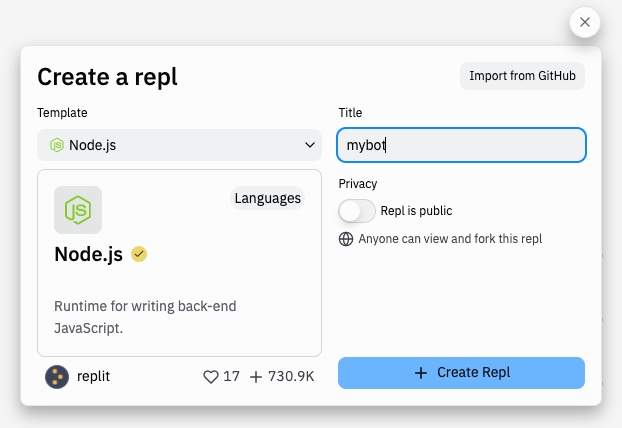
Go on and press "+ new repl" button. Then select Node.js as the programming environment and choose a unique name for you repl project. We used mybot.
Source code: this complete example is available in our repl.it repo
This url is our fulfillment endpoint. Now it's time to connect this endpoint to our previously created chatbot in the .
All the tutorial's source code is available on Github
