Chatbot chooser (multilanguage)
Last updated
Was this helpful?
Last updated
Was this helpful?
This tutorial will guide you to develop a simple language chooser chatbot.
Goal of this chatbot is to choose the next chatbot based on the language of the end-user.
In Tiledesk you can add a chatbot to any Department, moving to humans only when needed. Sometimes you can't add a static chatbot to a Department because you developed specialized chatbots for each language. The solution is to have a static chatbot in the Department that understands the end-user language and then applies a query to discover the best chatbot that suits the user language.
To use Tiledesk APIs or integrate your own chatbots is mandatory to signup a new user on . Then go to the console, available on the following link
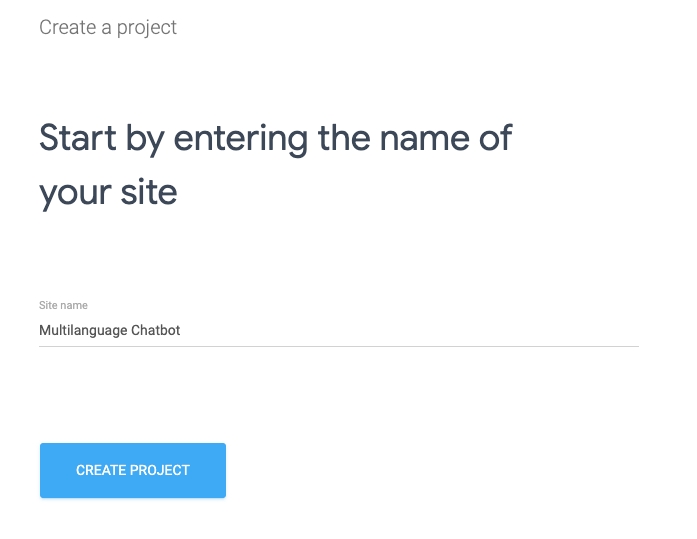
After signup please follow the proposed wizard to create your first Tiledesk project
We choosed "Multilanguage Chatbot" as Project name:
As soon as you create the project you will be redirected to the project home (for this tutorial you can jump the last step, relative to the widget installation).
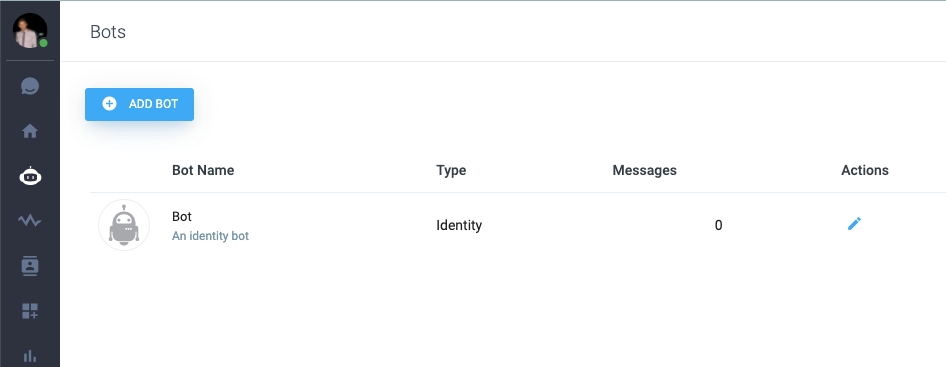
As first step we will create the Language Chooser chatbot. Select the chatbot icon on the left menu, then press the "ADD BOT" button:
Choose "Resolution bot" as type:
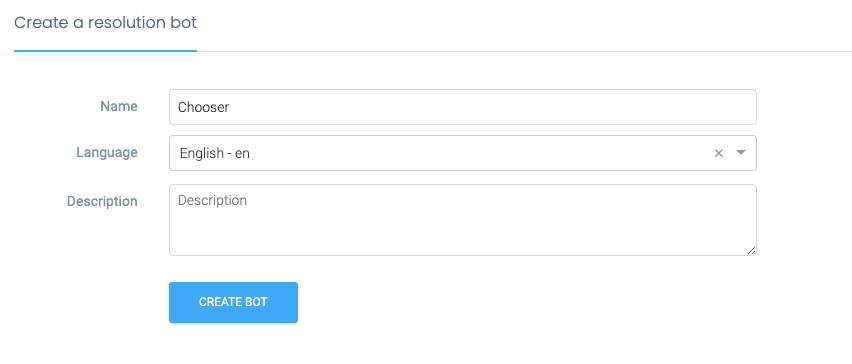
Set "Chooser" as the chatbot name and leave the other settings with their default value. Press "CREATE BOT":
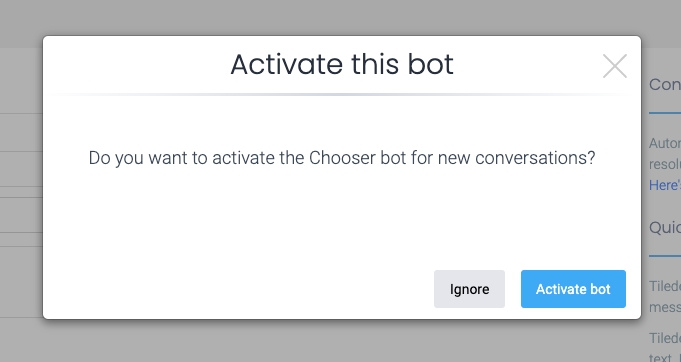
When asked, choose "Activate bot". In this manner the new chatbot is immediatly available as soon as someone starts a new conversation.
Let's create a couple of chatbots for English and Spanish.
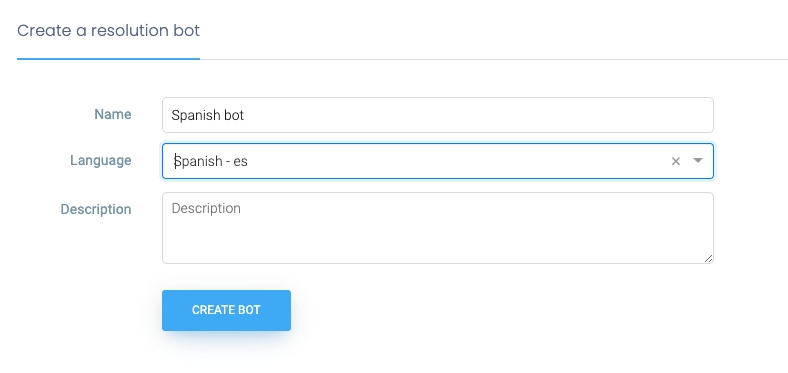
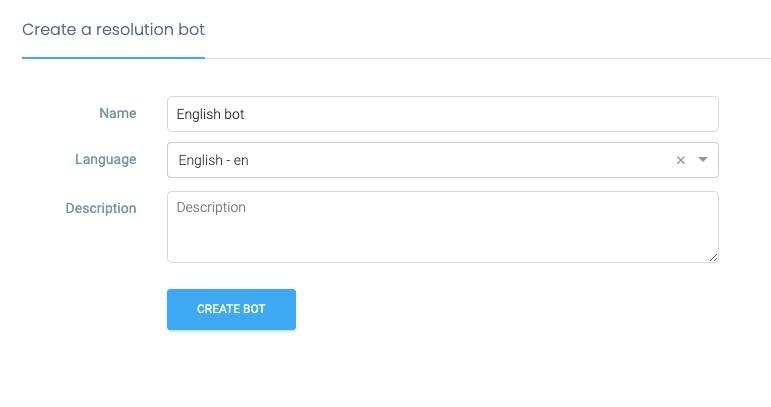
Again, choose ADD BOT, the "Resolution bot", and choose a name for our first chatbot, "English bot". Choose English from the language dropdown menu.
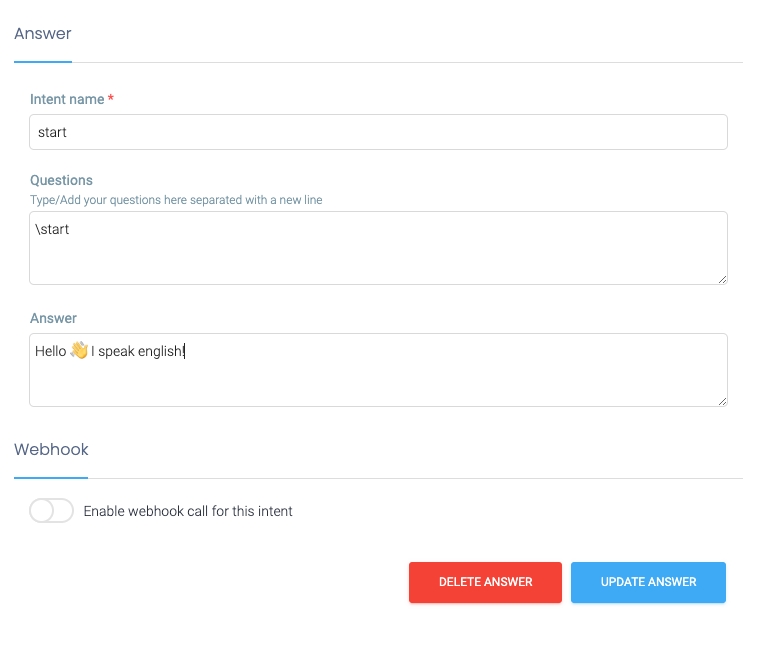
In the intents list, select the "start" intent, and modify the reply so we understand that everything works fine in multi-language configuration.
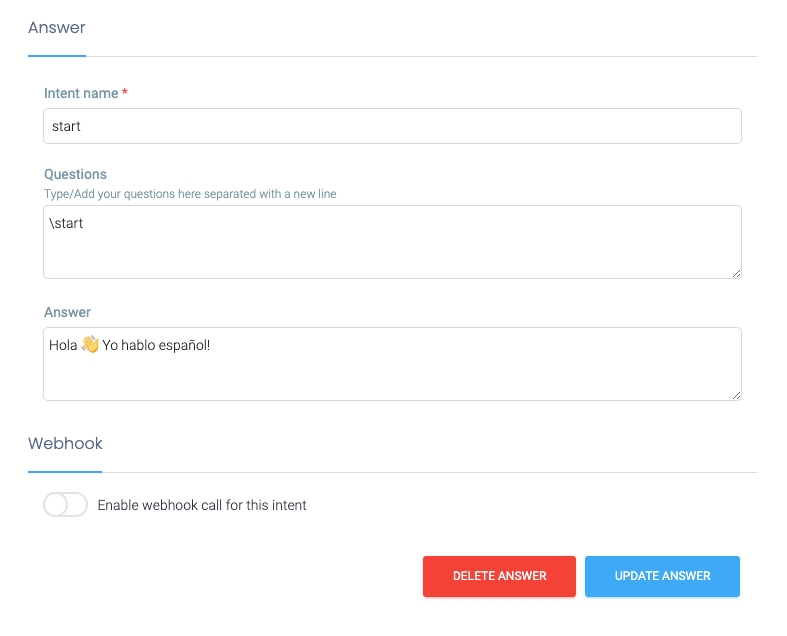
The same for Spanish:
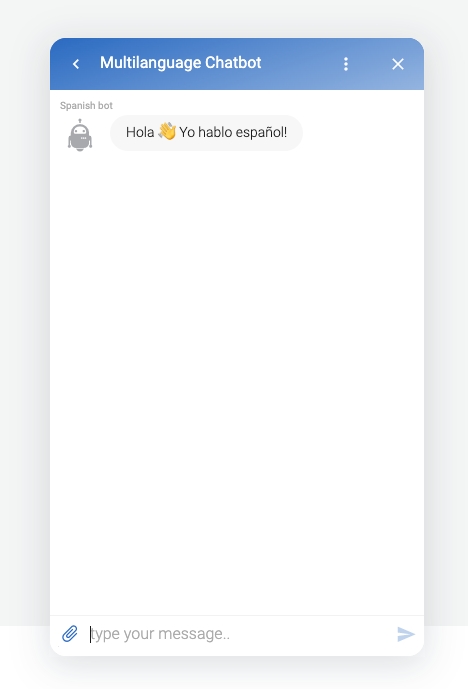
With the Spanish salutation message:
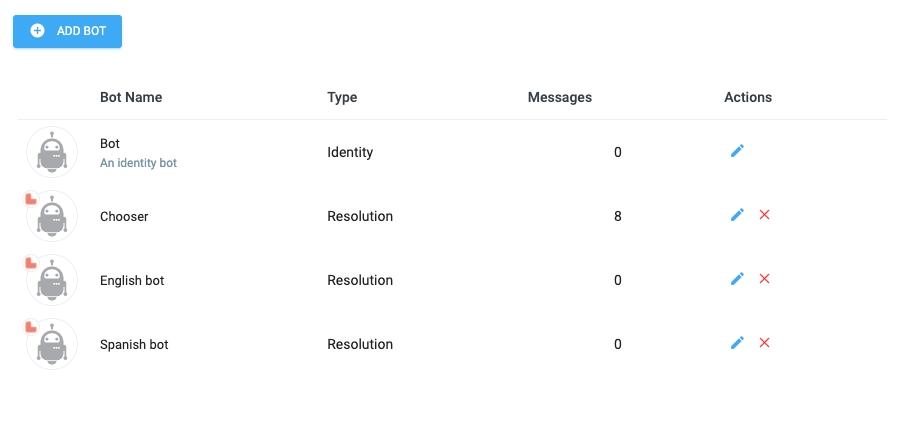
This is the final chatbots list, with the Chooser bot and the two English and Spanish chatbots.
https://replit.com/@tiledesk/chooser-chatbot#index.js
Refer to section "SELECT LANGUAGE FOR RESOLUTION BOTS" because we are using the Resolution bot for this example.
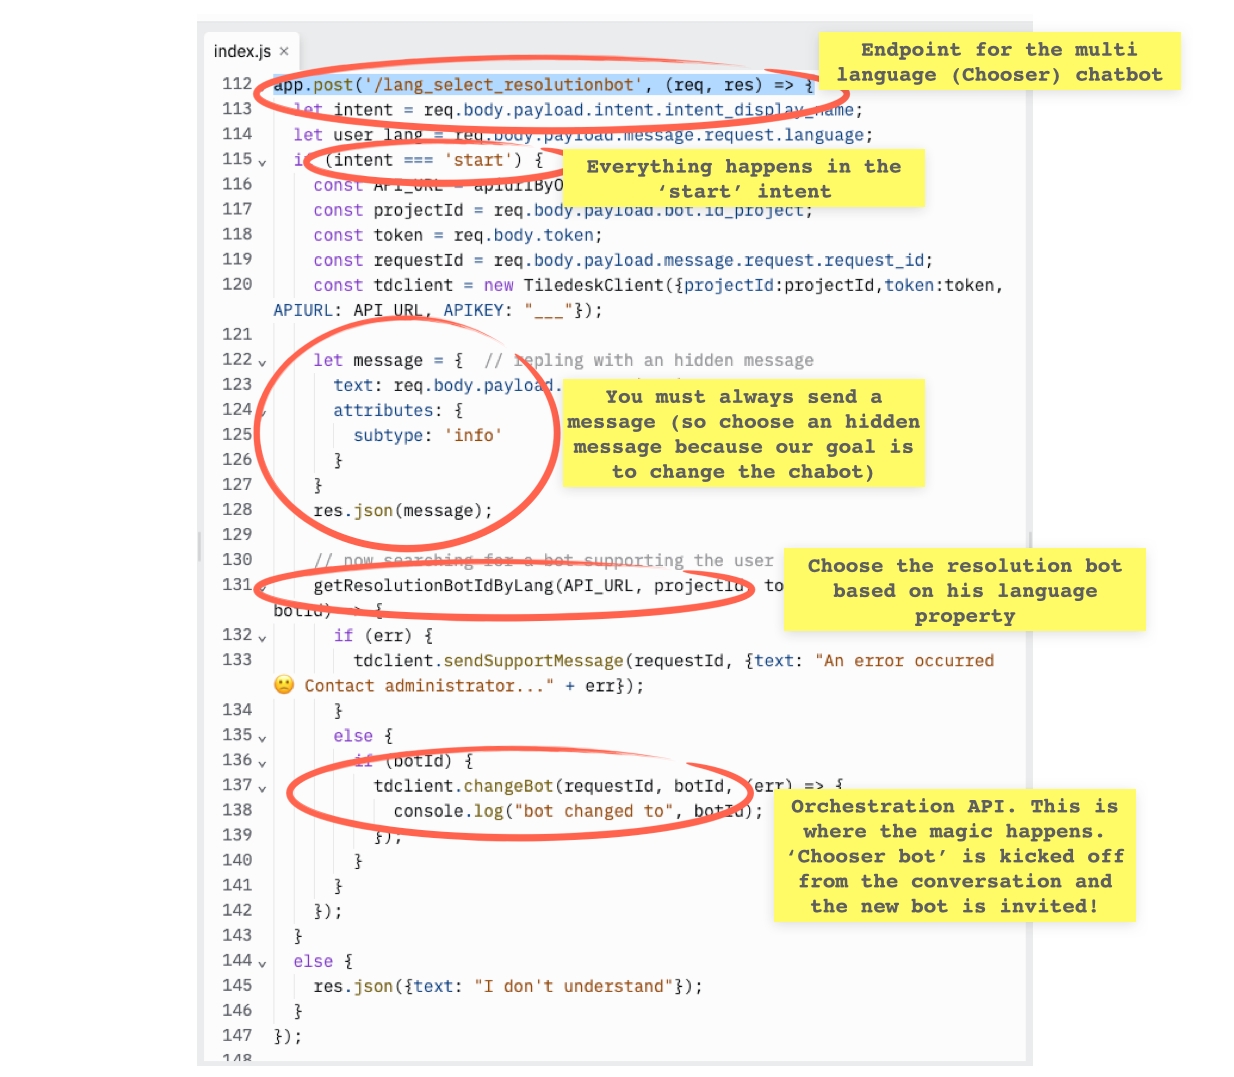
The endpoint is the app.post('/lang_select_resolutionbot'...
NOTE: There is also another tutorial with similar code but designed for external chatbots (that is, your custom chatbots).
The code is explained in the following picture:
Now you must connect this endpoint to the Chooser bot. Go in the Chooser bot view, enable Fullfilment and set the url corresponding to your forked replit. In our case the url is the following:
{YOUR-REPLIT-APP-ENDPOINT}/lang_select_resolutionbot
To run simply choose the "Simulate visitor" button on top of the console. Set your browser language to "Spanish" or "English", then reload the page with the specific language and start a new conversation. The Chooser chatbot will do his task, choosing the right bot for you!
See you on our next tutorial!
Do you have suggestions on this article? Please send us your feedback writing an email to info@tiledesk.com
To integrate an external bot, we'll need a web application endpoint where all the chatbot's requests will be forwarded. We'll use the service to fast create our own NodeJS web application endpoint.
*
If you have any problems do not esitate to write us on our !

