Rasa Tutorial 1 - Rasa as external chatbot
Last updated
Was this helpful?
Last updated
Was this helpful?
Connect Rasa to Tiledesk and easily handoff your conversation to a human agent!
Integrating Rasa in Tiledesk offers many advantages, first of all the possibility to handoff current chatbot's conversation to humans. This is a very common task in chatbot integration design, because a chatbot cannot always satisfy every user request or simply because the first chatbot was there just to welcome the user, get the user question and some user data (i.e. email, name), choose the right team and then forward the request to the first available agent.
We created this first toturial to allow a more customized integration experience with Rasa, allowing you to understand how easy it is to attach an external RASA bot to Tiledesk, switching a conversation to humans when needed.
We'll Replit.com and Node.js for our first RASA integration tutorial.
Create a replit.com account if you haven't one already.
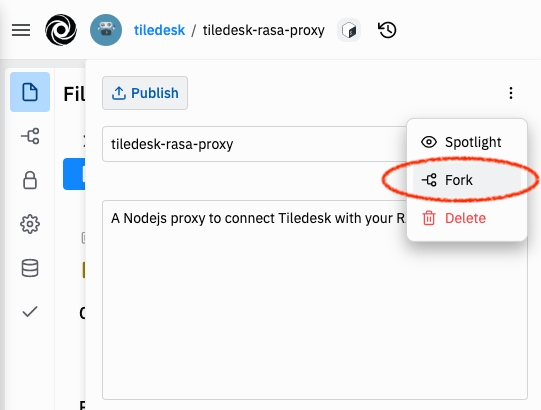
Press the project title on the top, open the menù and press "Fork" option as in the following picture:
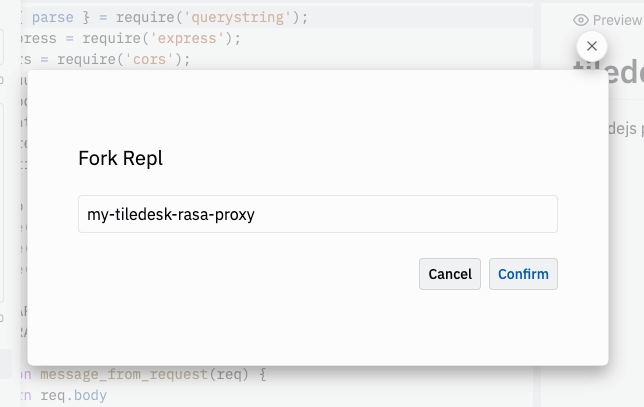
Name your project according to your preferences and press "confirm":
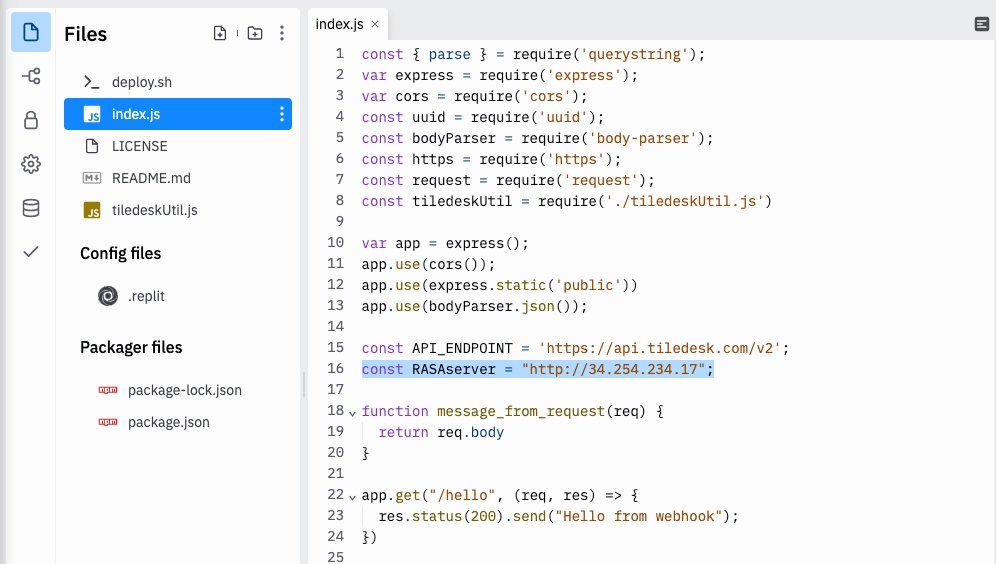
In the index.js file change the RASAserver var to point to your RASA server.
Now press the green Run button on the top bar. You RASA proxy started. Now it's time to connect it to a new Tiledesk project.
The API_ENDPOINT var in the source code points to the Tiledesk cloud.
On localhost:
API_ENDPOINT = localhost/api/
On your own server:
API_ENDPOINT = ${YOUR_SERVER_HOST}/api/
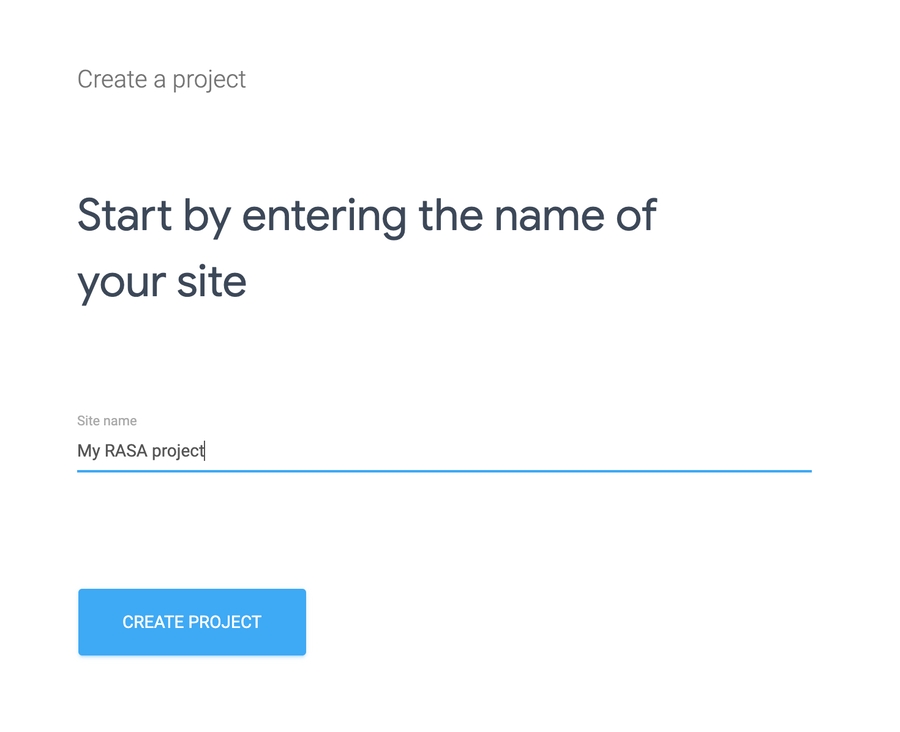
Create an account on Tiledesk, then create a new Project, you can name it "My RASA project".
Follow the tutorial steps, leaving the default settings. You will land on the project's Dashboard.
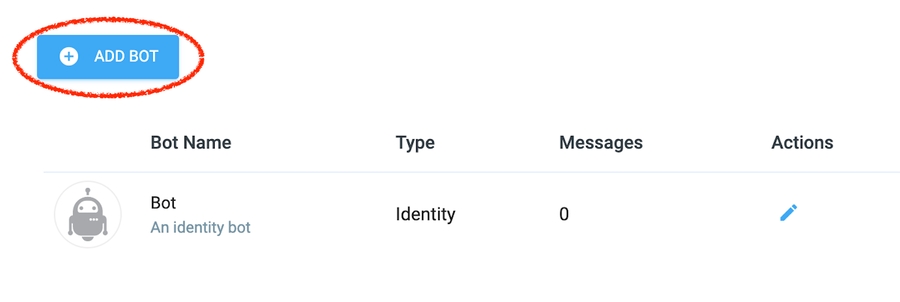
From the side menù select Settings > Bots. Click the ADD BOT button, on the top.
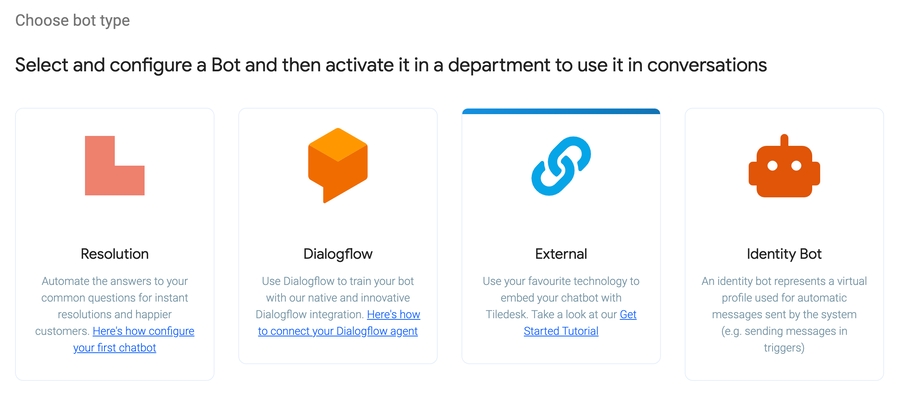
Choose External as bot type:
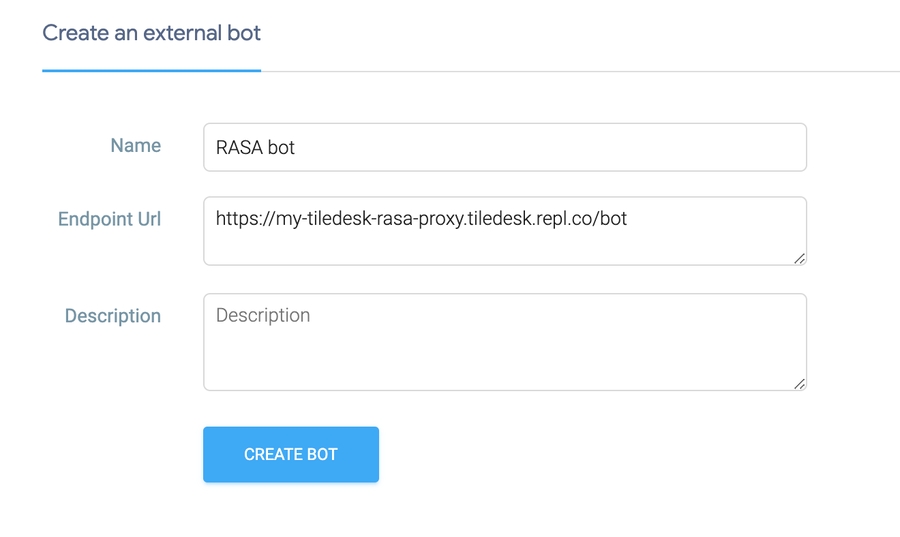
Now configure your bot. Fist choose a name (as 'RASA bot' in the example) and the HTTP endpoint of the Replit Proxy you created above.
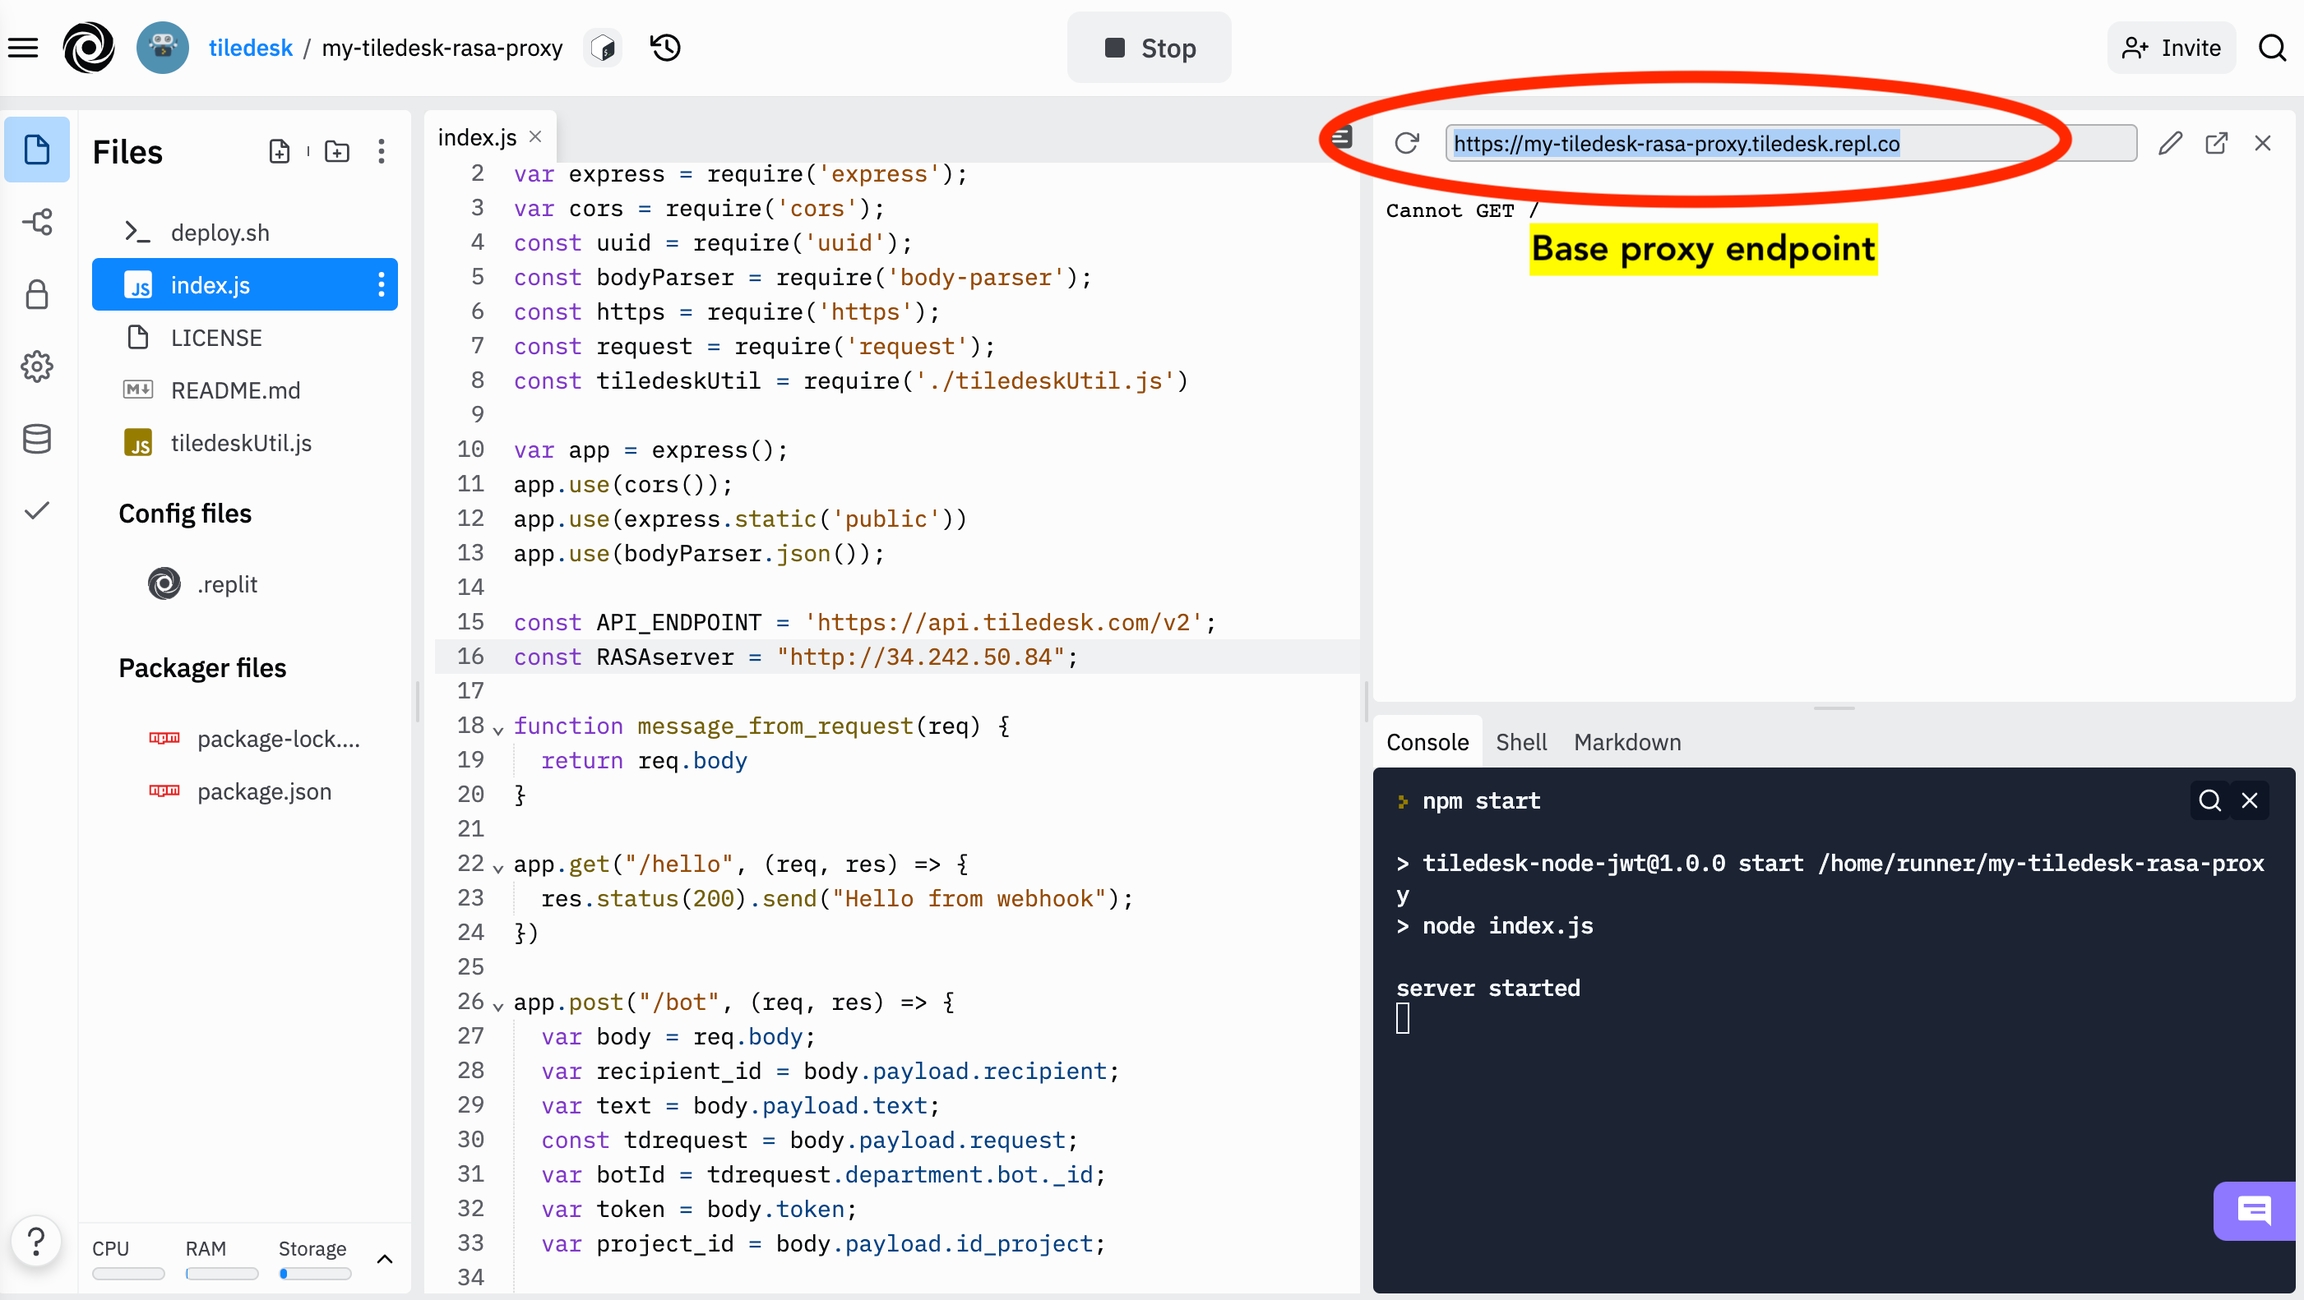
To get the proxy base endpoint go on the Replit.com Proxy, Run the project. You get the base url on the right panel on the top, as in the following picture:
Now, copy and paste Base proxy endpoint in the new bot form, adding /bot on the end:
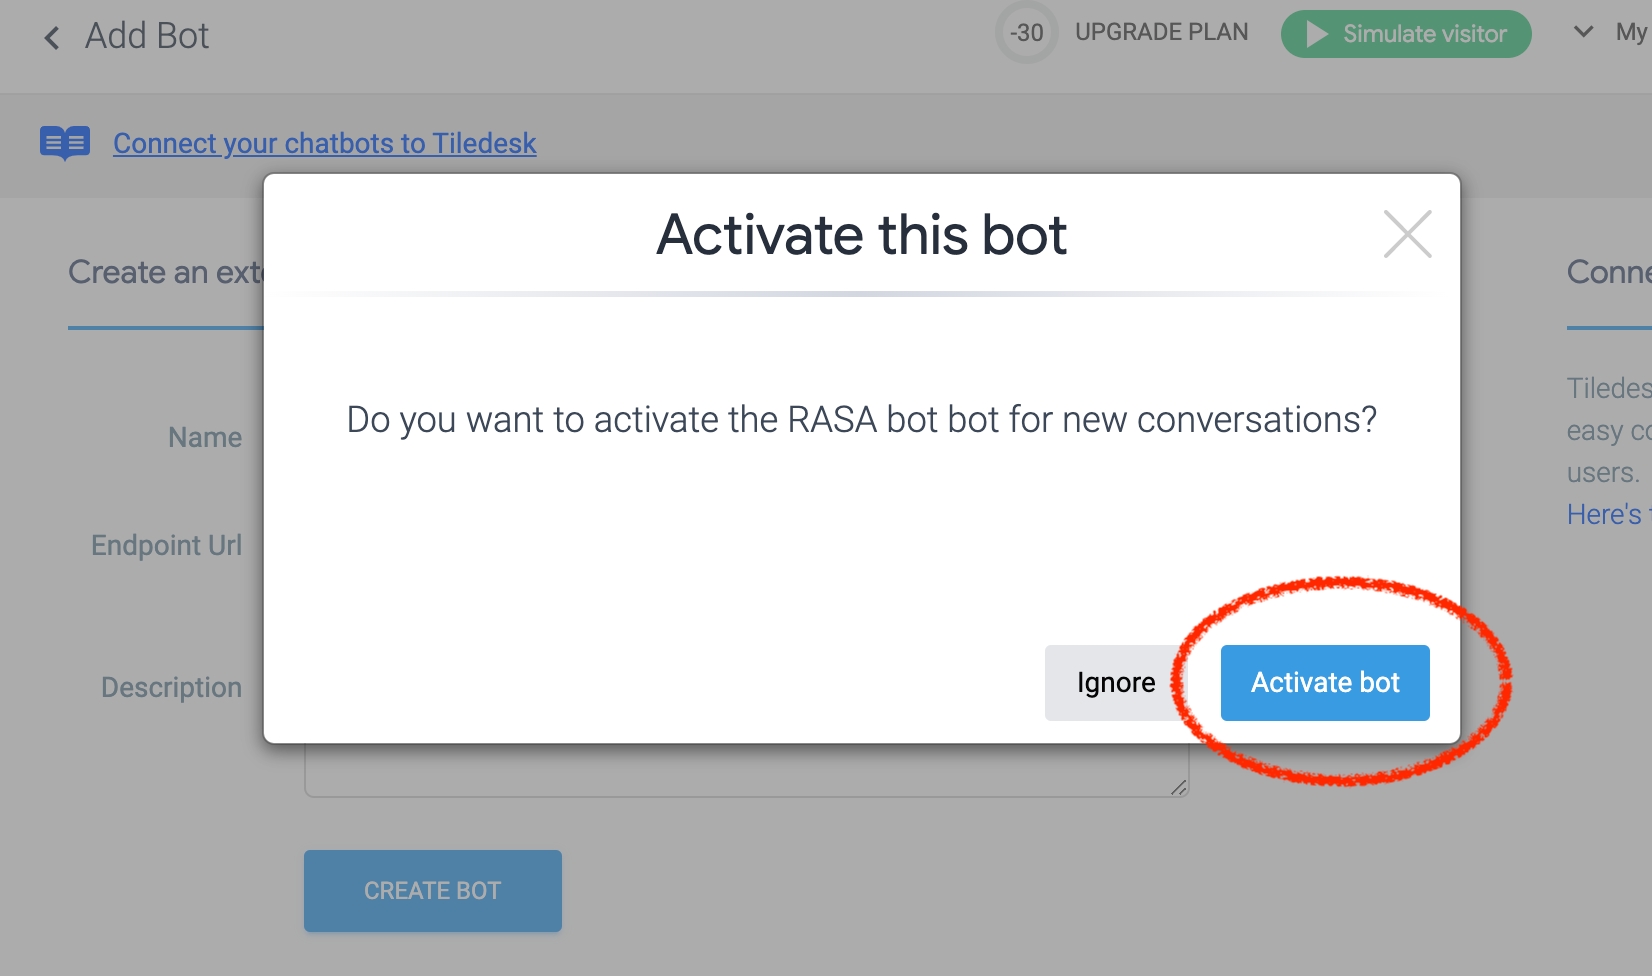
Now press CREATE BOT. When asked, press "Activate bot". This action will attach your chatbot to your default routing, making the chatbot available to end-users.
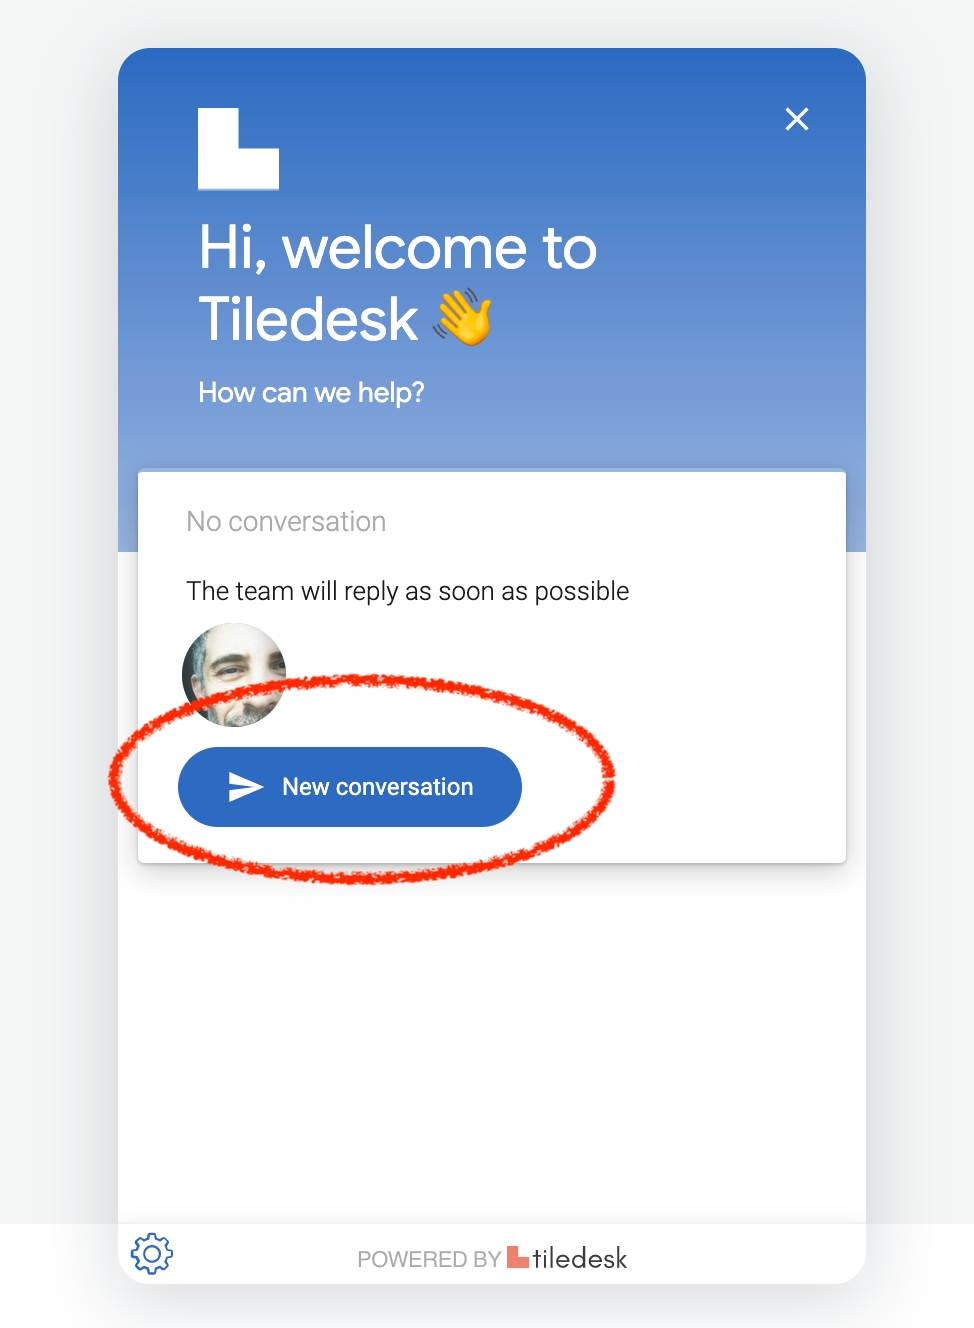
Open the widget and press the New conversation button.
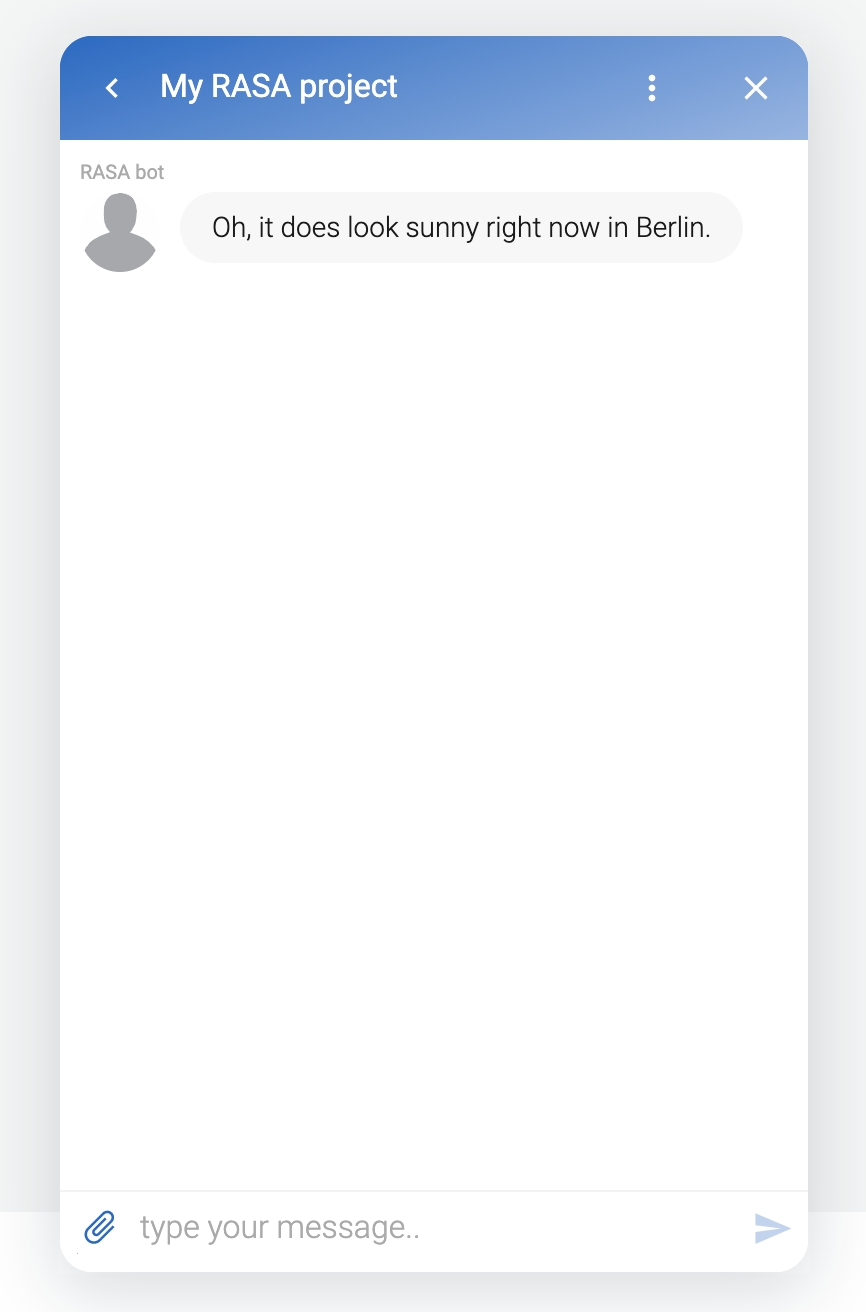
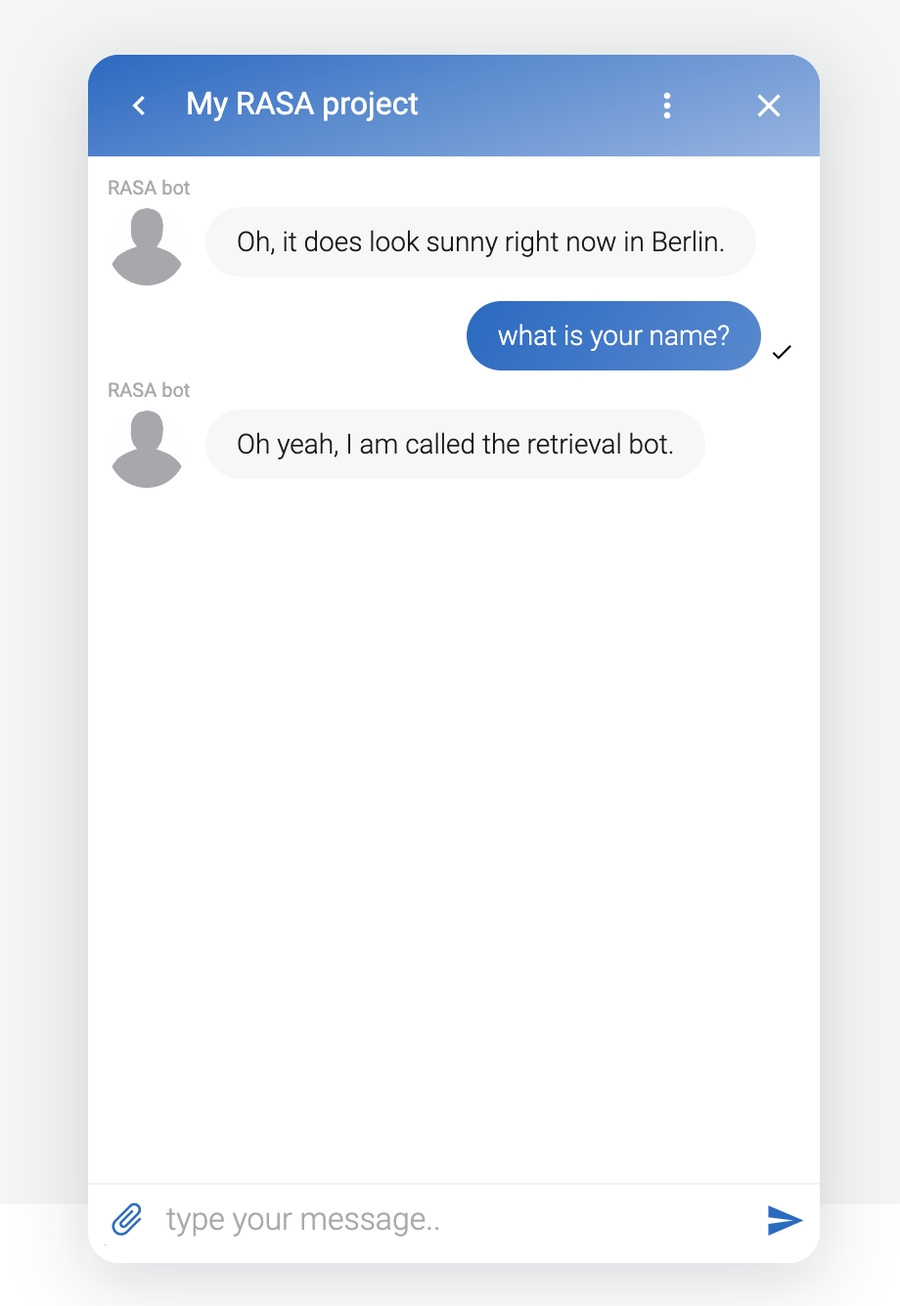
A new conversation suddenly starts with chatbot greeting you:
You can ask his name 🙂
Just create an intent reply with a \agent directive as last line in the message:
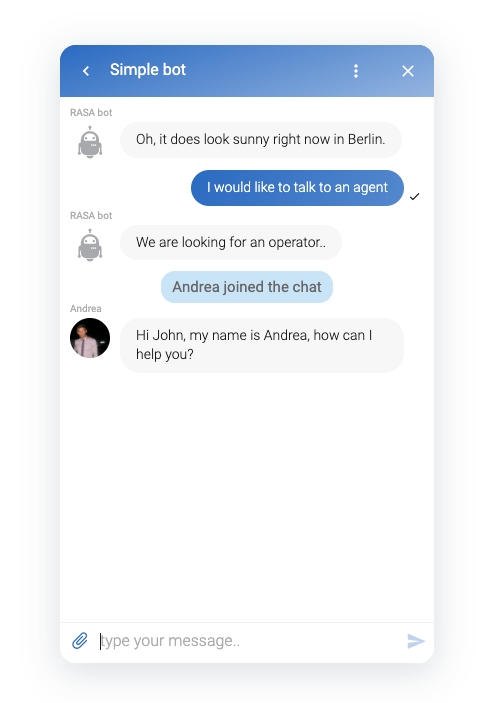
As soon as Tiledesk sees such a directive (\agent) in the message he will try to move the conversation to the first available agent, following the conversation's department rules (Assigned or Pooled). If the department's routing is on "Assigned", the conversation is instantly moved to the first available agent, like in the following picture:
In this tutorial you just learned how to connect your RASA chatbot to a Tiledesk's conversation and how to move the conversation to the next available agent when needed.
See you on next tutorial!
If you have any question or feedback please write us info@tiledesk.com
🚀 Native RASA Connector available 🚀 This tutorial aims to support you if you want a starting point to take full control of your RASA integration customization. If instead you prefer to integrate RASA in the "easy way" you can use the already embedded in Tiledesk. Don't forget that we are open source, so you'll expect the RASA Connector to be open source. Well you're right 🙂 The on Github
NOTE: You can find the full source code of this tutorial here: [](https://replit.com/@tiledesk/tiledesk-rasa-proxy-webhooks)
Go on the
If you installed Tiledesk using the please use this value for your API_ENDPOINT var:
You can find more on the Docker installation endpoints .
If, at some point with your chatbot conversation, it is necessary to kick off the chatbot and invite a human agent instead, you can to this in the simplest way following the .
🚀 Native RASA Connector available 🚀 This tutorial aims to support you if you want a starting point to take full control of your RASA integration customization. If instead you prefer to integrate RASA in the "easy way" you can use the already embedded in Tiledesk. Don't forget that we are open source, so you'll expect the RASA Connector to be open source. Well you're right 🙂 The on Github.
Tiledesk provides a full of features. Just and use it for free!
